Farmhouse Style Wire Wall Baskets (from Dollar Store Items)
Hey Remodelaholics! I’m Crystal and I blog over at The Weathered Fox where I share tips for high style decorating on a low budget! I love sharing tutorials over here on Remodelaholic. In the past I’ve shown you how to build an easy rustic wall rack, and how to turn a thrifted chandelier into a farmhouse style chandelier with just some paint! I definitely have a crush on farmhouse style, and today’s DIY is no different.

Today I’m once again combining my love for budget decorating and farmhouse style with a dollar store farmhouse wall baskets tutorial. I know I’m always looking for ways to add a bit of character to my walls. Remodelaholic has some amazing organizational tips and wall decor ideas. With wall baskets being so popular right now, I wanted to make some for myself. So if you want to recreate the Fixer Upper look in your home, follow along as I share with you how to make these Fixer Upper style farmhouse wall baskets from dollar store baskets!
Watch the video tutorial (and subscribe, please!) on our YouTube Channel and read below for additional written instructions.
How to Make Farmhouse Style Wire Wall Baskets
This post contains affiliate links; learn more and read our full disclosure policy here.
Materials Needed:
- Rectangular or square baskets (I got mine from Dollar Tree, but something like this or like these could work, or these larger baskets would hold even more)
- Black Matte Spray Paint
- Wood board cut to size
- Stain
- Paint (craft or other) in white, blue, and tan shades
- Flathead screwdriver, utility knife, or something that can scratch the surface of wood
- Straight edge
- Random tools for distressing. Hammer, screws, chains, etc
- Sandpaper
- Small screws
- Picture hangers
- pencil
- drill
- paper towel
Instructions:
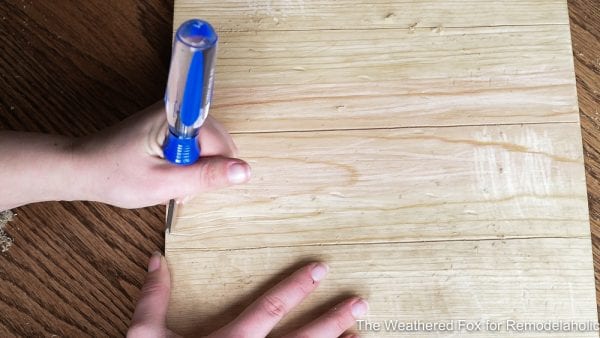
1) Start with your piece of wood, and decide how far apart you want your ‘planks’ to be. In this tutorial we are going to fake the look of planked wood just by creating indentations in the wood board. Using a straight edge, run your screwdriver along the board in a straight line several times. You will need to use a little bit of muscle here to get the line to go deep enough to give the illusion of a gap.
2) Use your random tools to continue to distress your wood. I used several different items to beat, scratch, and dent the wood to give it the distressed look I wanted. Remember, when you stain the board, those marks will become darker than the rest of your board.
3) Stain your board. Be sure to get in all the dents and scratches you have created. Wipe off any excess stain and let it dry. Now let’s tackle the baskets!
4) Spray paint your baskets. Wait for everything to dry.
5) Once your board is dry, use a small amount of your craft paints and a paper towel or rub the paint onto the board in a random pattern. Do this a few times to create layers. Wipe off excess paint with a damp paper towel.
6) Use sandpaper to distress your paint job until you have the desired look.
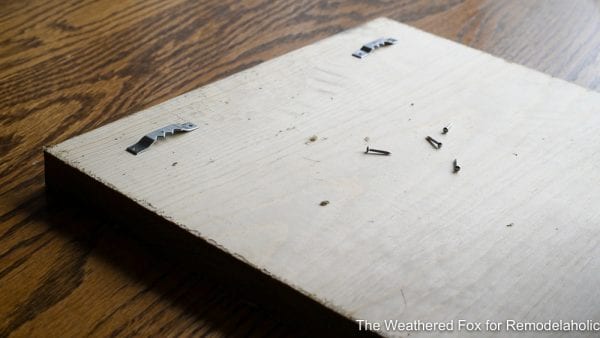
7) Turn your board around and add picture hooks on the back. I used two for a more secure hold.
8) Position your baskets on your board, mark where you want the screws to go, and add your screws. Your screws should fit snugly around the wire. ( I also used a bit of black paint on the screws to make them blend in better.)
9) Hang your new farmhouse baskets! You can use them to store spices, decor, makeup, crafts, you name it! Mine have found a home in my craft room!
That’s it! From dollar store baskets to useful farmhouse wall decor, and it took me less than 20 minutes to make!

If you love this project, come check out my other super easy farmhouse projects, like my thrift store candlestick makeover, how I turned an old $18 table into a fabulous farmhouse table, or how I made giant farmhouse frames using dollar store picture frames.
 |
 |
 |


I adore this DIY. Fabulous!