Build a GIANT Bulletin Board for under $50
Discover how to create a massive, stylish bulletin board for less than $50 with this easy-to-follow DIY guide. Cheaper than a traditional corkboard and you pick the size to make your own custom bulletin boards.
If you like this post you’ll also like Build a DIY Wood Screen Utility Box Cover, How to Add a Wood Plank Wall to Your Home, and How to Refinish Wood Furniture.

How to Build a Giant Bulletin Board
Hi Remodelaholic readers Jaime Costiglio from That’s My Letter back again for another furniture post and this is one build you definitely want to find a space for! Make this giant framed bulletin board for under $50 and get your workspace up off the desk and visible in a way you never saw before.

This is not your typical everyday bulletin board: this bulletin board here measures 75″w x 45″h dimensions and I’m loving every inch of it! Of course now I need a bigger and different desk situation but that’s for another post.
This DIY giant bulletin board would be a great option to make for a classroom to have extra display space for student art, educational posters (like our quote art!), or school announcements, or in high traffic areas like retail stores for pricing and menus.
This post contains affiliate links. Learn more and read our full disclosure policy here.

This DIY cork bulletin board interior panel is made from homasote (a sound barrier board) which is much less expensive than cork board, stronger than cork (no fiberboard backer required) and comes in a giant sheet (4′ x 8′) which allows you to make nearly any size you desire. I built this bulletin board to be hung using inexpensive aluminum French cleat hardware.
Of course you could always secure the entire board to the wall but the french cleats provide proper support and are much easier to install, especially if you have plaster walls like me :), and allow you to take down the board easily if necessary.

The stained wood frame style is easy to DIY and hides the rough edge of the homasote panel to give the perfect finishing touch and make your bulletin board really complete. Of course, you could use any of the many wood frame styles you prefer to get the look you like.
I painted the panel black which makes this large cork board look like an old chalkboard, but you could paint it any color to look like natural cork or to match your decor style. (You may even be able to use chalk paint to make it an actual chalk board!) You could also cover the panel with fabric for a very durable and totally custom giant NOT cork bulletin board.
Supplies:
- 1 sheet of 1/2″ homasote sound barrier panel (4′ x 8′) or substitute rigid foam board insulation
- 3 – 1x2x8 pine boards
- 4 – 1x3x8 pine boards
- 2 – 3/4″ plywood scrap boards (at least 5″ x 24″)
- wood glue
- finish nailer & nails
- drill & bits
- wood screws
- 2 – metal French cleat hangers (or see this tutorial for DIY French cleat instructions)
- miter saw
- sandpaper
- circular saw
- paint & roller
- stain & foam brush
Step-By-Step Guide
Step 1: Cut Panel to Size

Cut homasote to desired size to fit the frame width and length you want. The panel is easily cut with a circular saw so you can make custom sizes to fit any space you want.
Step 2: Sand and Stain Frame Boards

Gently sand pine boards then apply stain with foam brush. Wipe excess and let dry thoroughly.
Step 3: Attach Scrap Boards to Back

On back of board near top edge at center secure one piece of scrap plywood with glue and countersunk screws. This will hold the french cleats.

Near bottom edge at center of board secure other scrap plywood piece. This keeps the entire bulletin board plum against the wall once hung.
Step 4: Install French Cleat Hardware

Above is the french cleat hardware. I choose to use 2 smaller cleats because my wall is not flat, having 2 cleats allows the bulletin board to give slightly with the wall. Secure one piece of each cleat to plywood scrap as shown below.

Step 5: Paint and Attach Frame

Paint homasote desired color two coats. Cut 1×2 board with 45 degree mitered corners to fit longer edges of board first.

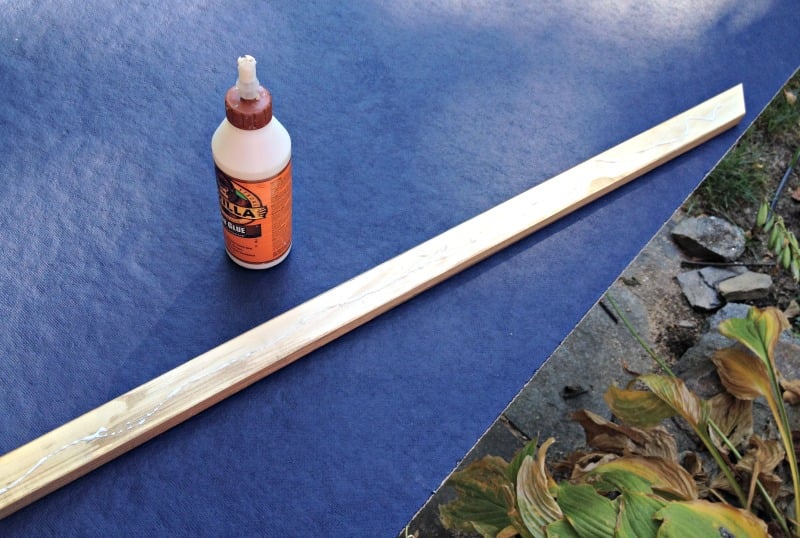
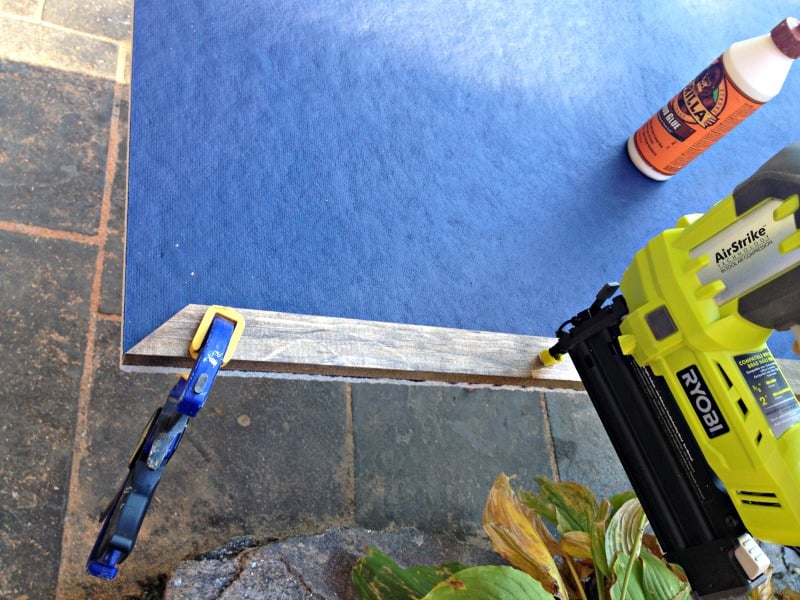
Apply glue, clamp flush to edge of homasote then finish nail in place.

Drive screws from the backside up into the 1×2 frame portion for added security.
Step 6: Finish Frame Edges

Cut 1×3 to fit length of board. Apply glue to edge of homasote and 1×2 frame piece. Place 3/4″ spacer on top of 1×2 frame piece. Hold 1×3 perpendicular and flush to top of spacer board then finish nail into both the homasote and 1×2 frame piece.
This trim border gives you a nice 3/4″ lip on interior of frame and also a neat 1/2″ on the backside which provides nice exterior box sides and covers any view of the hardware from the side.
Step 7: Hang French Cleat Wall Pieces

Secure french cleat hardware to wall at desired position to match spacing on back of board, be sure to check for level. Then just line up the two French cleats to hang the giant bulletin board. The wall piece locks in to the piece on the back of the board for a very secure wall-mount display.
I hung mine landscape (horizontal) direction, but for a menu board or a different size wall, you could hang this vertically (portrait) instead to make the most of your wall space.

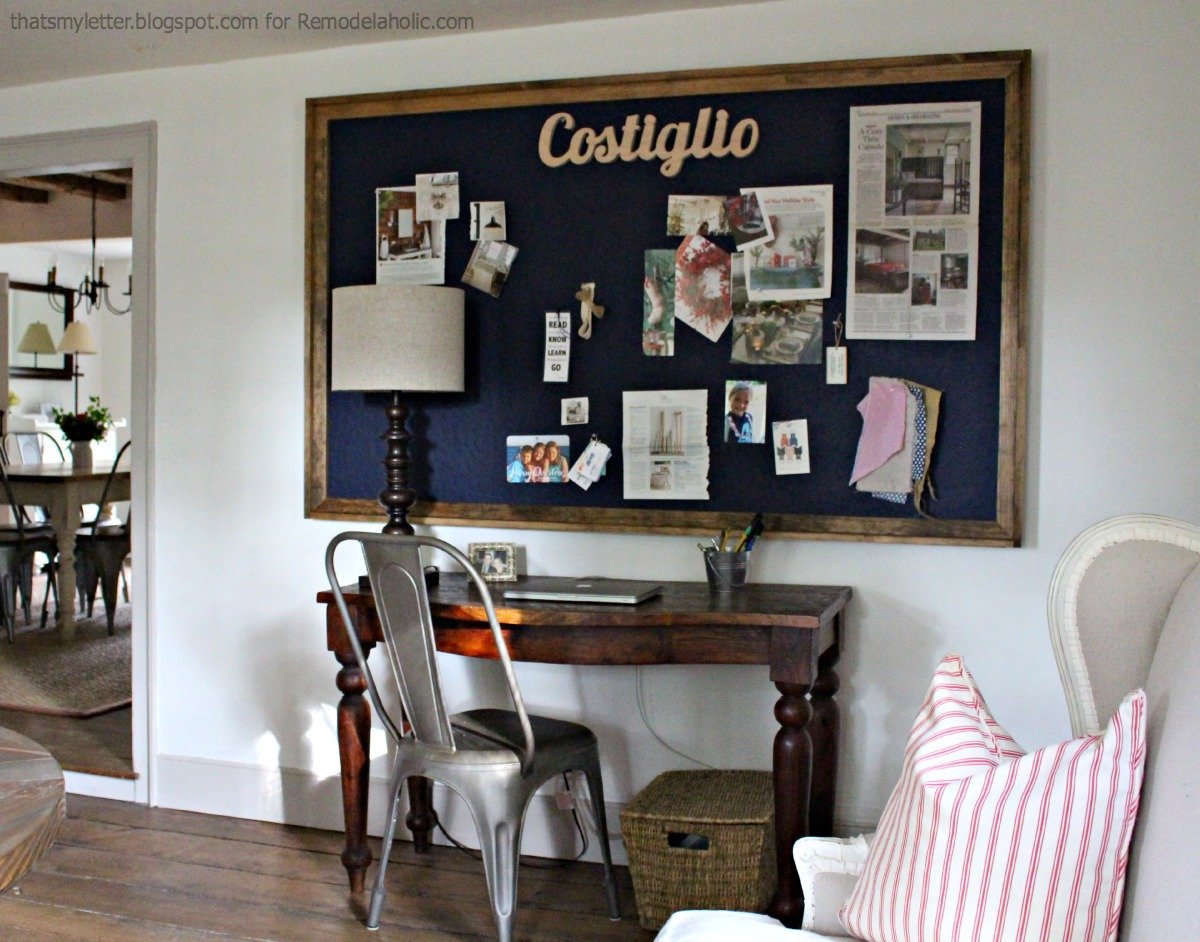
Hang and enjoy. I like to consider this framed bulletin board a very useful piece of wall art. Add a personalized message header (like our family name here) and you’ve got a useful place to organize mail, flyers, and more with just a few tacks.
And here’s the finish product!

This bulletin board is meant for indoor use. For an outdoors display, build one of these standing chalkboards – sub in the hemasote/insulation panel to make it a cork board, and seal the edges with a weather resistant material such as a silicone sealant to ensure it can stand up to moisture during outdoor use. Great for golf courses or university campuses!
Looking for more DIY furniture builds? Below are some recent pieces I completed:
X-Base Circular Dining Table

An x-base circular dining table that my kids have claimed as a homework station.
Tutorial: X-Base Circular Dining Table
DIY Classic Lemonade Stand

A diy classic lemonade stand recently built for a friend’s Fall festival.
Tutorial: DIY Classic Lemonade Stand
DIY Sliding Barn Door Console

And lastly this diy sliding barn door console that I still can’t believe resides in our home!
Tutorial: DIY Sliding Barn Door Console
Thanks for checking in friends.
———————————————–
Looking for more ways to organize your family’s papers and schedules? Try these:
Divided Chalkboard Calendar Plans

Create a stylish and functional chalkboard calendar with this easy-to-follow guide. Learn how to build a divided chalkboard calendar that’s perfect for organizing your busy life.
Tutorial: Build a Chic Divided Chalkboard Calendar
Glass Message Board Plan

Create a sleek, modern message board with our detailed glass message board plan. This DIY guide provides step-by-step instructions and design inspiration for a stunning, customizable home decor piece. (And PS: You can use a break resistant clear acrylic window panel instead of glass to make it more durable!)
Tutorial: Build a Glass Dry Erase Message Board
Build an Elegant Magnet Board
Discover step-by-step instructions on how to create a stylish and functional magnet board that elevates your space, from material selection to design inspiration.
Tutorial: Build an Elegant Magnet Board
Pin this to save and share!

My name is Jaime Costiglio and I write the blog That's My Letter. What started off as a kitchen makeover documentation blog 3.5 years ago has warped into a full on project based blog focused on building, painting and sewing. All the project posts are DIY and include tutorials with photos. I typically stick to wood, paint and fabric as my mediums to build furniture and crafts, paint furniture, make signs, and use fabric to sew home decor, accessories and gifts. I reuse and repurpose consistently and always, always use what I have first before buying new.


Is the 1×2 necessary for strength or is it just for looks? Santa is trying to make these (needing 4!) and the cost is way higher than $50 each. Just wondering if we could cut those out and still be safe. These will go in kids rooms so they will have to be safe!
I know this is an old post, but I was hoping it’s monitored. Where did you buy the homasote? I’m not sure where to find it. Thanks
I just checked and i read Lowe’s.