Dollar Tree DIY Mickey Mouse Wreath for Winter Disney Decor
Bring Disney magic to your front door this winter with this super easy DIY Mickey Mouse wreath inspired by everyone’s favorite classic cartoon character. Best of all, you can make this with ONLY Dollar Tree materials!
Make even more wintry cheer for your front door with this fuzzy Dollar Tree snowman wreath or a classic wood slice winter wreath, plus learn how to make an any-season farmhouse wreath from Dollar Tree materials.

If you’re itching for Disney but can’t fit it in the schedule or the budget this winter, bring a bit of Disney to your home with this super easy DIY Mickey Mouse wreath! Just gather a few Dollar Tree supplies and you can make this wreath in under an hour, for around $12. A bit of time and a bit of money leads to magic!
We’ll walk you through the process of turning 3 wreath forms into a Mickey head wreath and then making it into a fluffy winter wreath using dollar store supplies, plus variations to make a DIY Mickey Mouse wreath for other seasons, too.
Why You Need to Make this Magical Mickey Mouse Wreath DIY
- Affordable Materials: The beauty of this DIY project lies in its affordability — about $12 for materials. All the materials needed, including the wreath forms, microfiber cloths, and ribbons, can be easily sourced from Dollar Tree or your local craft store, making it a budget-friendly endeavor. Make your own Mickey Mouse wreath and save the rest of the budget for your next Disney trip!
- Nostalgic Charm: Nothing says Disney like the magical mouse! Mickey Mouse is an iconic character that has enchanted generations. Incorporating a Mickey Mouse wreath into your decor adds a nostalgic charm, making it a delightful conversation starter and a source of joy for Disney fans of all ages.
- Customizable Design: This craft allows for personalization. You can choose different colors and patterns for the ribbon, experiment with cloth textures, or even add extra embellishments to create a unique wreath that reflects your style.
- Easy to Make: Whether you’re a seasoned crafter or a beginner, this project is accessible to all skill levels. The step-by-step instructions simplify the process, ensuring a successful and enjoyable crafting experience. Fun for kids and adults alike!
Creating Magical Memories: A Step-by-Step Guide to DIY Mickey Mouse Wreath
Unlock your inner artist with our step-by-step guide to creating a Mickey Mouse wreath. Budget-friendly materials, easy instructions, and a touch of nostalgia – the perfect recipe for a magical craft day!

Supplies
- 14-inch wreath form (Dollar Tree)
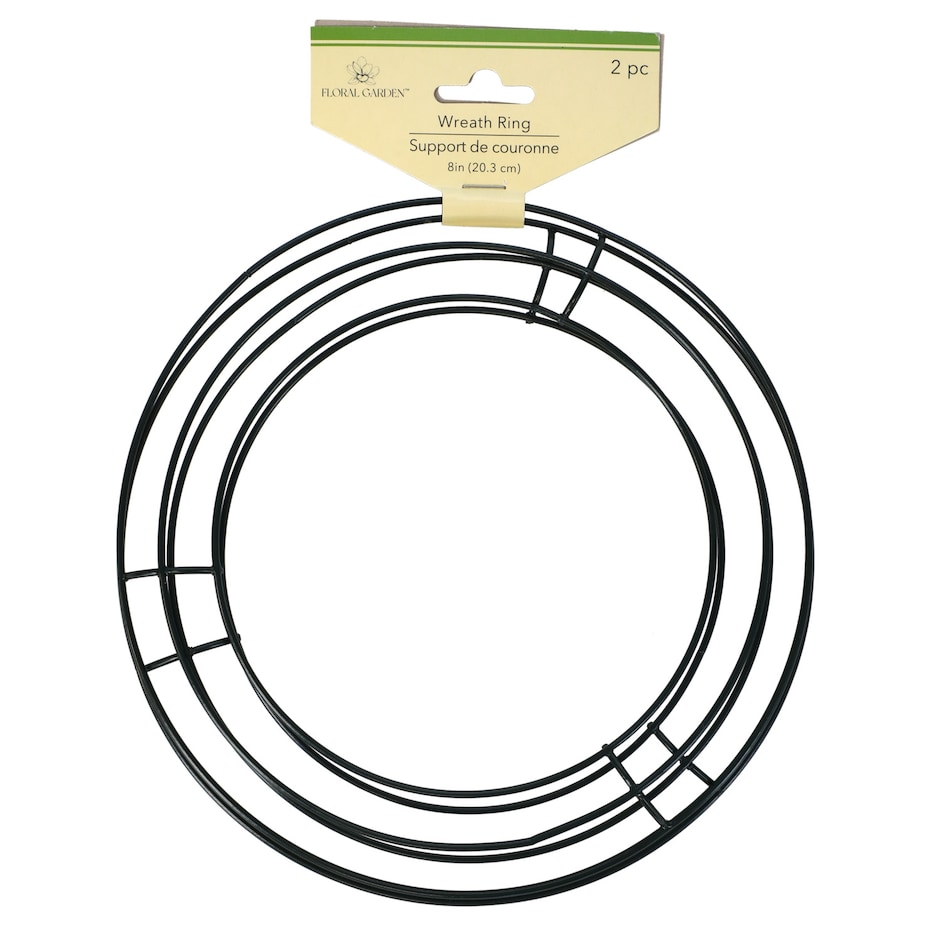
- 2-pack smaller 8-inch wire wreath forms (Dollar Tree)
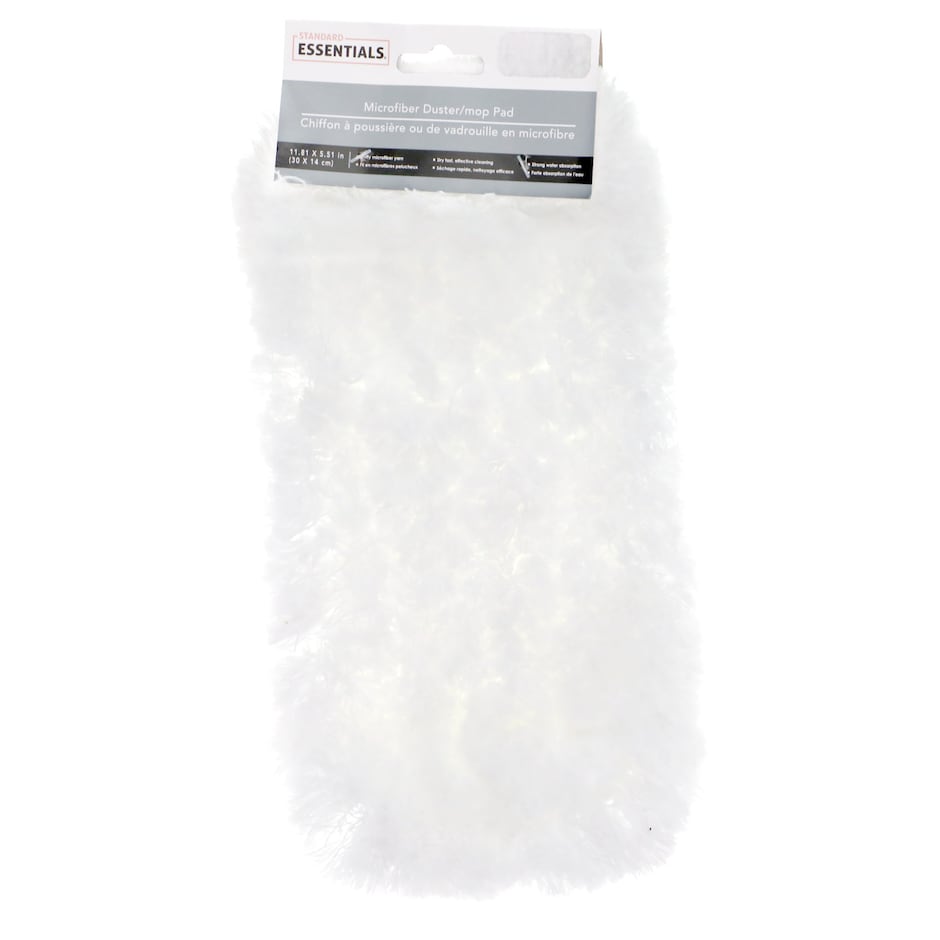
- 5 microfiber duster cloths (Dollar Tree)
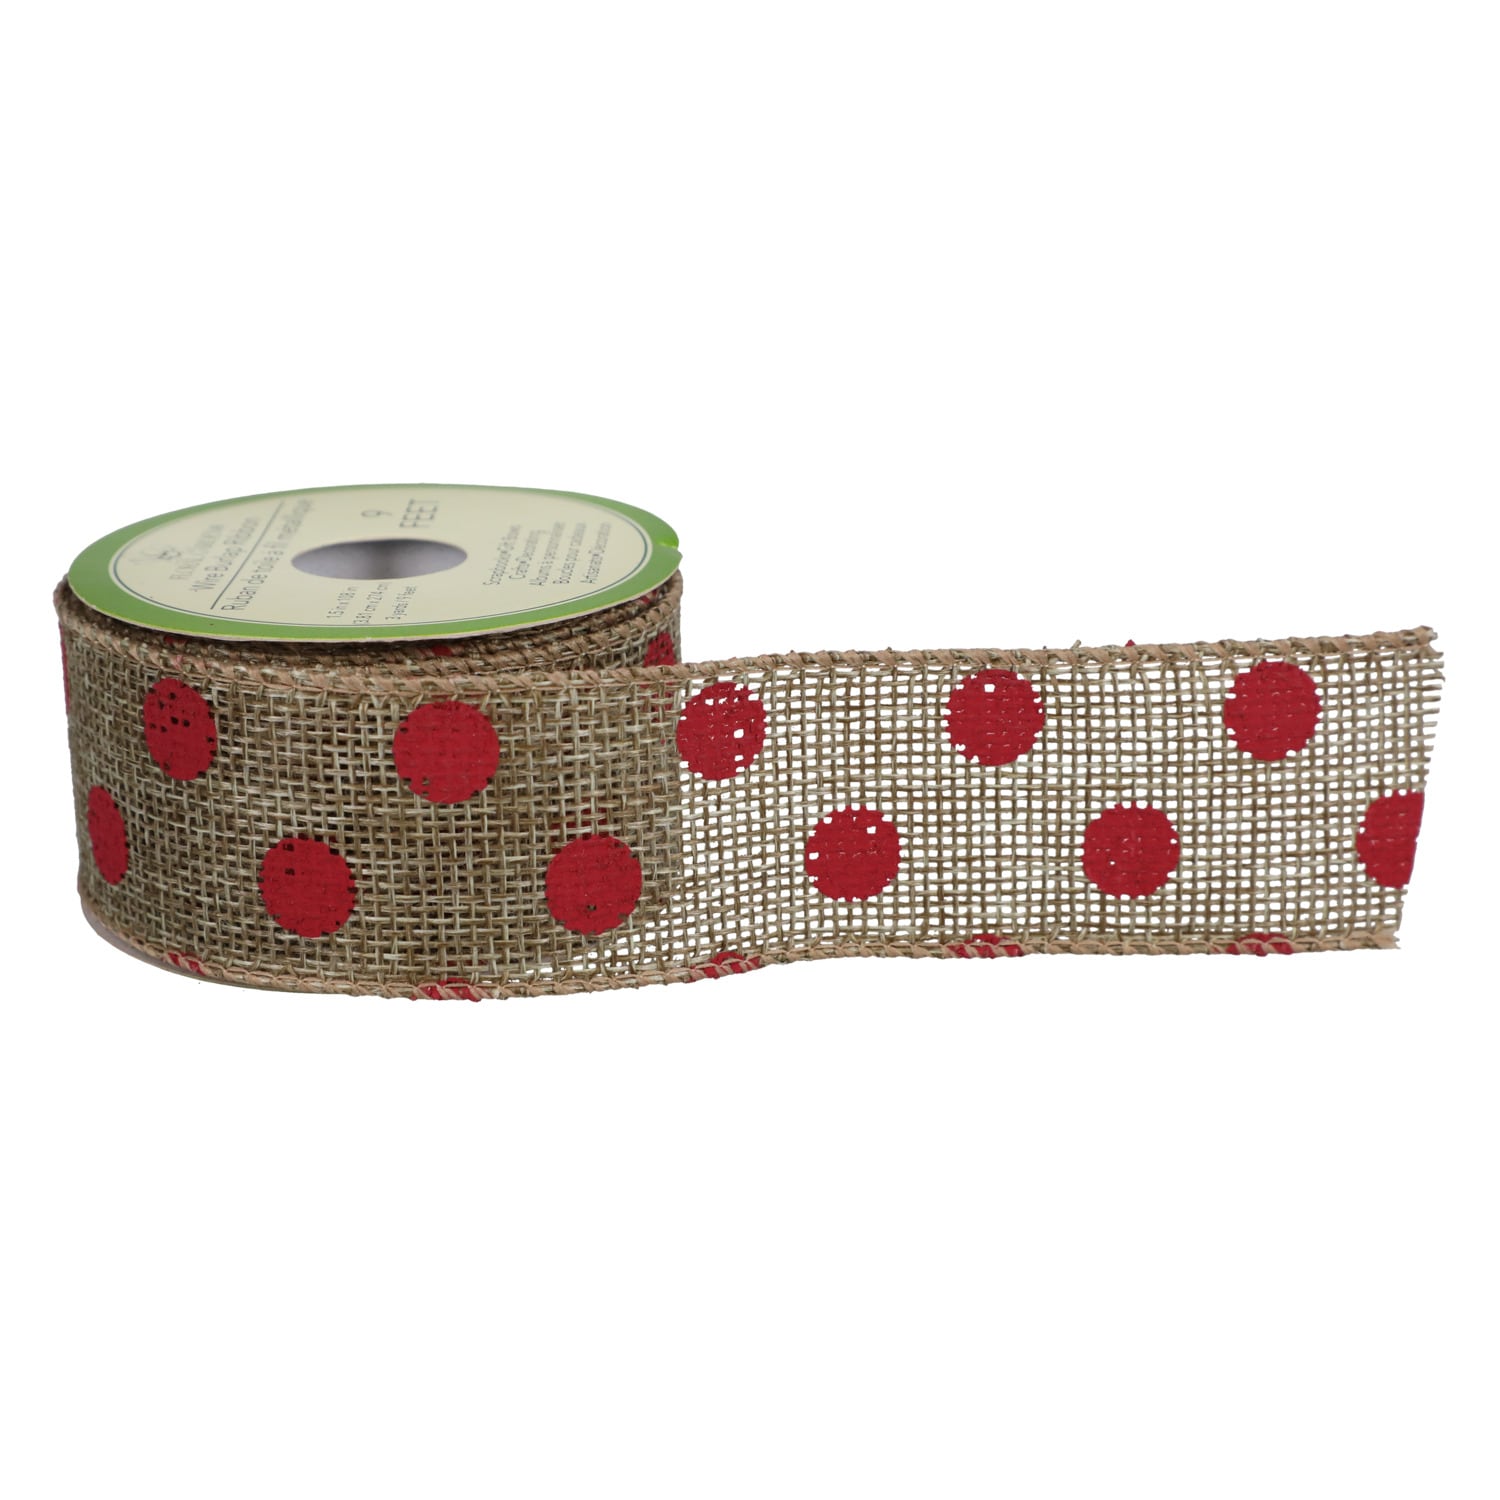
- Black and red polka dot ribbon (Dollar Tree)
- Scissors
- Hot glue gun/glue sticks
- Zip ties or floral wire (Dollar Tree)
PS: The wreaths forms and the dust mop cloths are both available in smaller quantities, so you can make a couple and have matching Mickey and Minnie Mouse wreaths! Ship right to your house, or choose to pick up from one of your local dollar stores.
Step-by-Step Instructions
Step 1: Create the DIY Mickey Mouse Wreath Form
Attach the small wreaths to the large wreath form using zip ties or floral wire, forming a Mickey Mouse ears silhouette shape.

Overlap the outer layers of the two wire wreath forms for added stability, with the smaller wreaths on top.

Step 2: Prep and Glue the Dusters to the Wreath
Cut each microfiber cloth in half lengthwise.
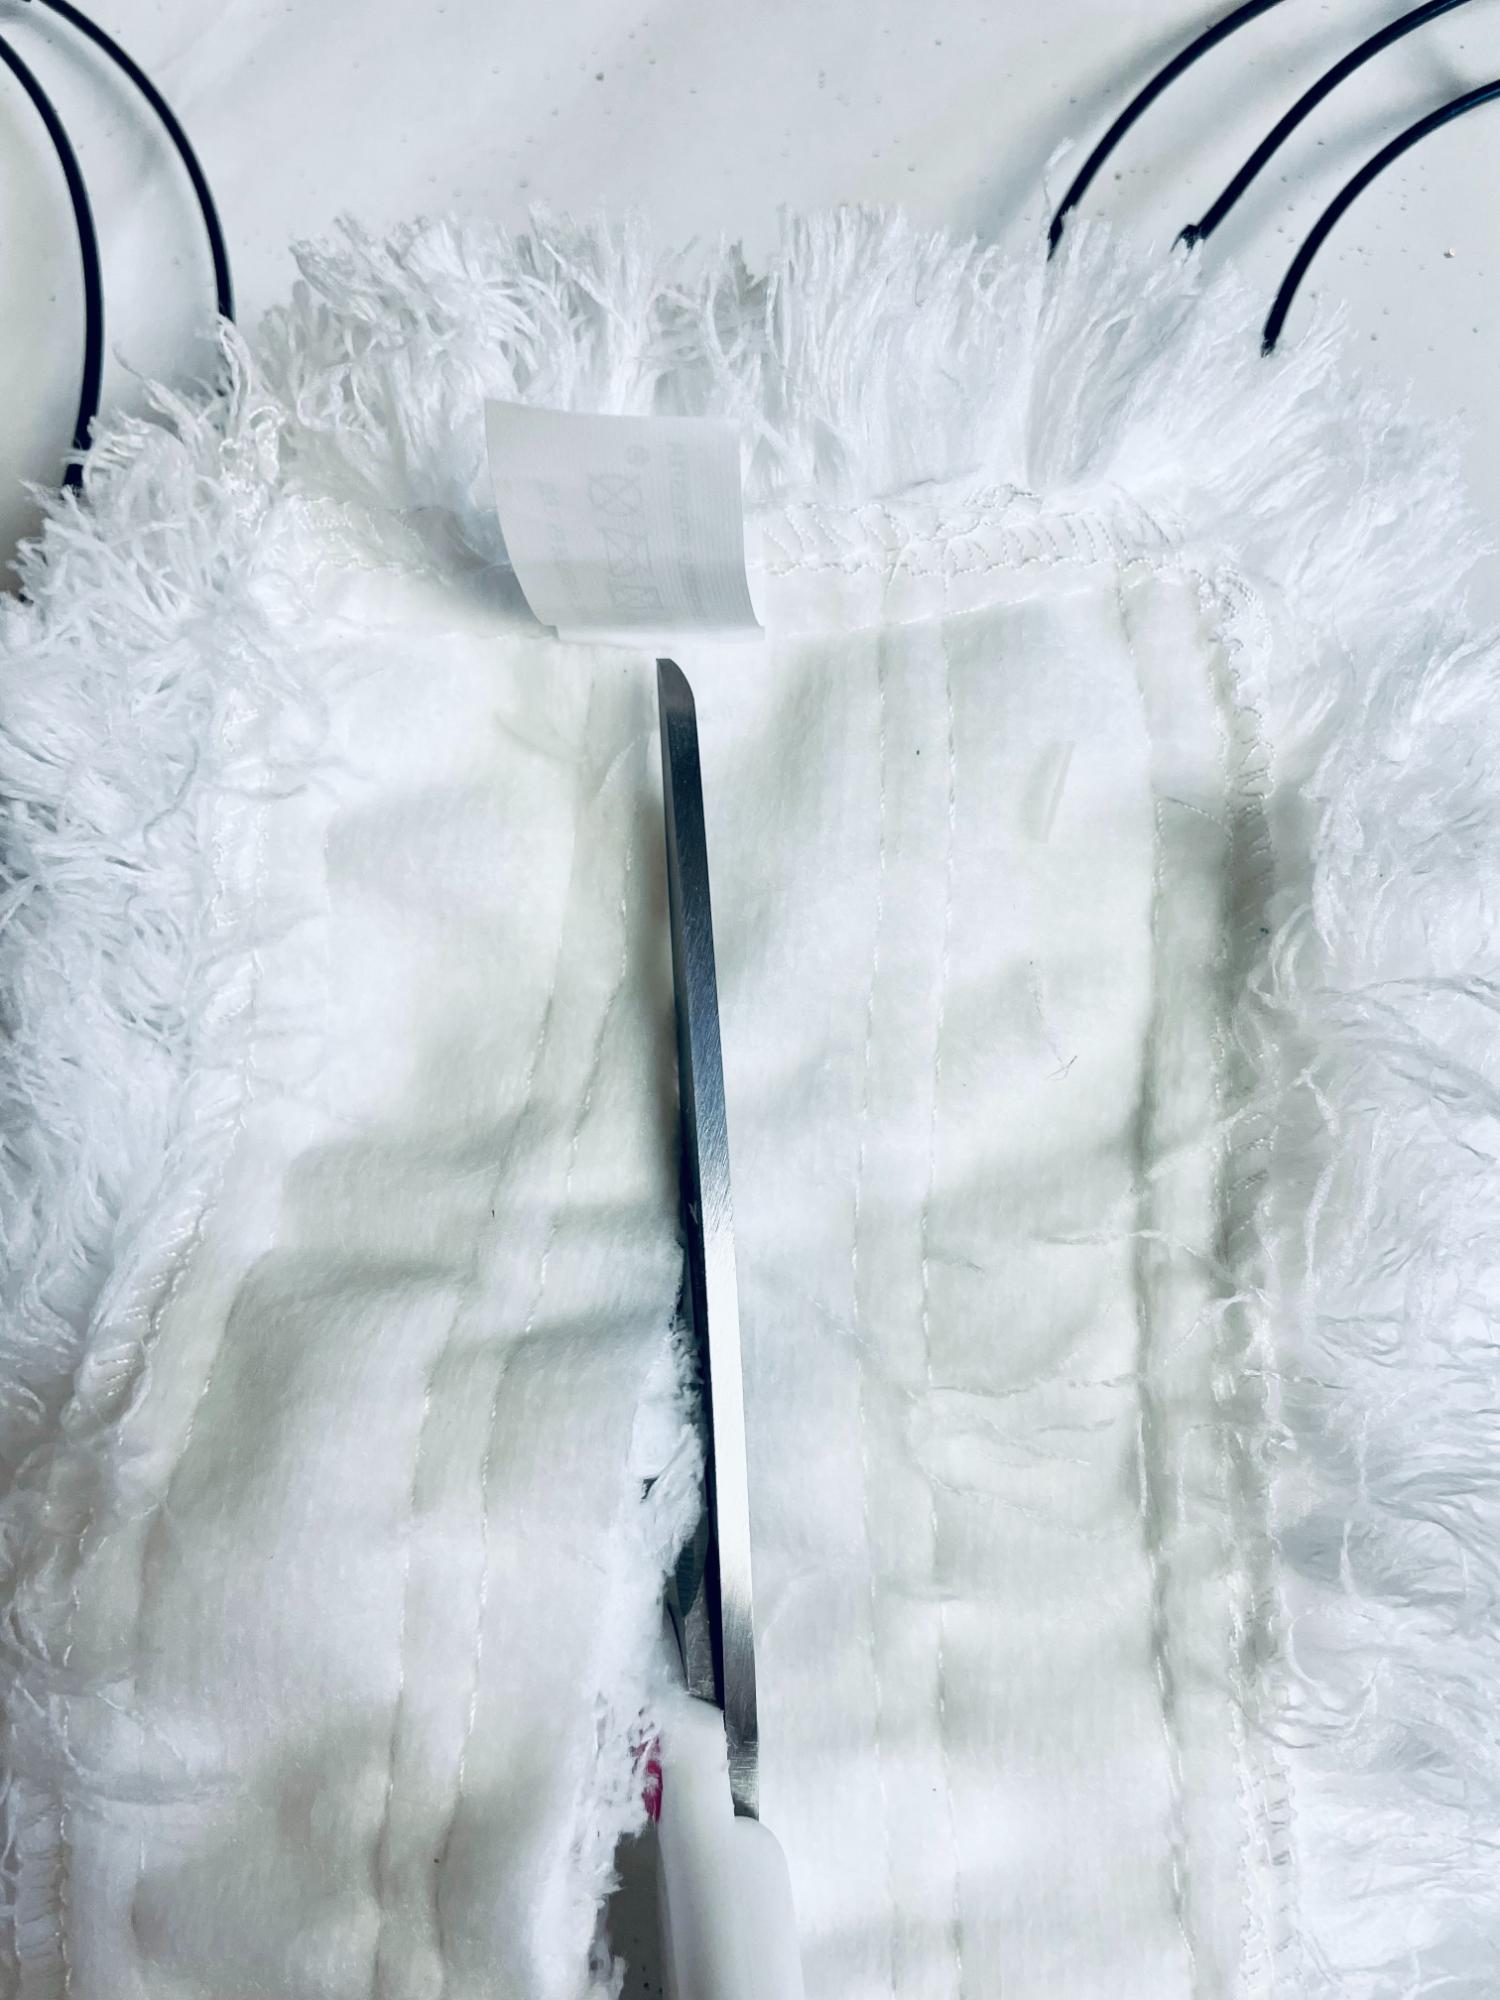
Apply lines of hot glue along the wire sections and place the microfiber cloths on top, wrapping any excess around the outer edge and securing with hot glue.

Continue until all 3 circles of the wreath form are covered and the entire wreath is fluffy and magical.

I think it looks best to cover the smaller rings first, then use the material on the larger wreath to hide the smaller wreath overlap section. You can be better at tucking the ends in than I was here 😉

Step 3: Make the Ribbon Bow
Make two bows using the polka dot ribbon, one with the black polka dots and one with the red polka dots. Cut the ends into a dovetail shape.
See our tutorial here for how to make your own ribbon bows.

Apply hot glue to the back of one bow the bows and press it firmly on top of the other bow.

Apply hot glue to the back of the stacked bows and and press them firmly between the Mickey Mouse ears.

Easy Mickey Mouse Wreath Variations
- Seasonal Twist: Modify the colors and textures of ribbon to suit different seasons or holidays. Consider pastels for spring or patriotic colors for Independence Day.
- Change the Wreath Base: Instead of the fluffy dusting cloth, change up the cover on the wire wreath form to make a fabric or ribbon wreath, a yarn wreath, a woven rope wreath, or even a flower wreath!
- Personalized Embellishments: Add your own creative flair with personalized embellishments such as Disney-themed charms, faux flower floral picks, or glitter for an extra touch of magic. This is a great spot to show off some Disney pins, souvenirs, or memorabilia.
Pin this to save and share!

DIY Mickey Mouse Wreath FAQs
Can I use different-sized wreath forms?
While the sizes mentioned work well, feel free to experiment with different sizes to create a customized look.
You could also sub the wire wreath frames for grapevine wreath forms, pine evergreen wreaths, or foam wreaths for a different look.
Can I use a different fabric?
Yes! Use what you can find to match your style and the seasonal decor. Swap the mop cloths to make a fabric, ribbon or tulle wreath, a yarn wreath, a woven rope wreath, or even a flower wreath! You could also use pine garland to make a Mickey Mouse Christmas wreath (like this snowman wreath), or add leaves and mini pumpkins for Halloween (like this pumpkin patch wreath), and don’t forget to add some snowflakes for winter.
Is the wreath weather-resistant?
Unfortunately, this wreath is designed for indoor use only. Exposure to outdoor elements may damage the materials over time, so be sure to keep it inside a storm door or well-protected from the elements if you’d like to use it on your front door.
Dollar Tree is a great place to get seasonal decor and inexpensive craft supplies. Check out all of these great DIY dollar store wreath ideas, for any season.
Dollar Tree DIY Mickey Mouse Wreath, Step by Step

Ingredients
- 1 14-inch wreath form Dollar Tree
- 2 smaller 8-inch wire wreath forms Dollar Tree, 2 pack
- 5 microfiber duster cloths Dollar Tree
- Black and red polka dot ribbon rolls Dollar Tree
- Scissors
- Hot glue gun/glue sticks
- Zip ties or floral wire Dollar Tree
Instructions
- Attach the small wreaths to the large wreath form using zip ties or floral wire, forming a Mickey Mouse ears silhouette shape. Overlap the outer layers of the two wire wreath forms for added stability, with the smaller wreaths on top.
- Cut each microfiber cloth in half lengthwise.
- Apply lines of hot glue along the wire sections and place the microfiber cloths on top, wrapping any excess around the outer edge and securing with hot glue. Continue until all 3 circles of the wreath form are covered and the entire wreath is fluffy and magical. I think it looks best to cover the smaller rings first, then use the material on the larger wreath to hide the smaller wreath overlap section.
- Make two bows using the polka dot ribbon, one with the black polka dots and one with the red polka dots. Cut the ends into a dovetail shape. (See our tutorial here for how to make your own ribbon bows.)
- Apply hot glue to the back of one bow the bows and press it firmly on top of the other bow.
- Apply hot glue to the back of the stacked bows and and press them firmly between the Mickey Mouse ears.
Notes
Lorene has been behind the scenes here at Remodelaholic for more than a decade! She believes that planning projects and actually completing them are two different hobbies, but that doesn't stop her from planning at least a dozen projects at any given time. She spends her free time creating memories with her husband and 5 kids, traveling as far as she can afford, and partaking of books in any form available.


