Easy Dollar Tree DIY Christmas Bells Door Hanger
Make this easy set of of DIY Christmas bells (that actually ring!) from only Dollar Tree items. This jingle bell door hanger is a fun way to greet guests, or hang the Christmas bells on the Christmas tree.
You’ll also love our other Dollar Tree Christmas decor ideas, like the popular Christmas gnome wreath and these Dollar Tree Christmas Tree tricks.

Dollar Tree DIY Christmas Bells Door Hanger
Making your own Christmas decor is a great way to usher in the festive cheer — and using Dollar Tree materials saves money, too! We love making quick and easy Dollar Tree Christmas DIYs to save money on materials, and save time over complex crafts, all while creating our own custom decorations.
In this post, we’ll guide you through a step-by-step budget-friendly Christmas bells wreath DIY using materials easily sourced from Dollar Tree. These large bells are made for just a couple of dollars each, so you can make many for a Christmas party of gifts! The DIY Christmas bell ornaments are a charming project that not only adds a touch of handmade warmth and welcome to your home but also makes for a fantastic Christmas craft activity for families or a friend group.
For Christmas decor on a budget, it’s hard to beat Dollar Tree Christmas ideas like these! Enjoy these crafts, decor, and gift ideas.
Why DIY Christmas Bells are a Great Christmas Craft
Creating your Christmas decorations brings a unique joy and personal touch to the festive season. The Dollar Tree Christmas bells wreath is not only affordable but also customizable, allowing you to tailor it to your preferred color scheme and style. It’s an excellent craft for individuals, families, or even as a creative bonding activity during holiday gatherings. Plus, the finished Christmas bells make for a beautiful and thoughtful gift for friends and family. Decorate your front door, your Christmas tree, or your mantel with your newest DIY home decor!

How to Make the DIY Christmas Bells from Dollar Tree: Step-by-Step Tutorial

Dollar Tree Christmas Bells Supplies
- 2 Large Plastic Cups (Dollar Tree)
- 3 Dollar Tree Nautical Rope Coils
- 2-4 Silver Bells (Dollar Tree, in a pack of 9)
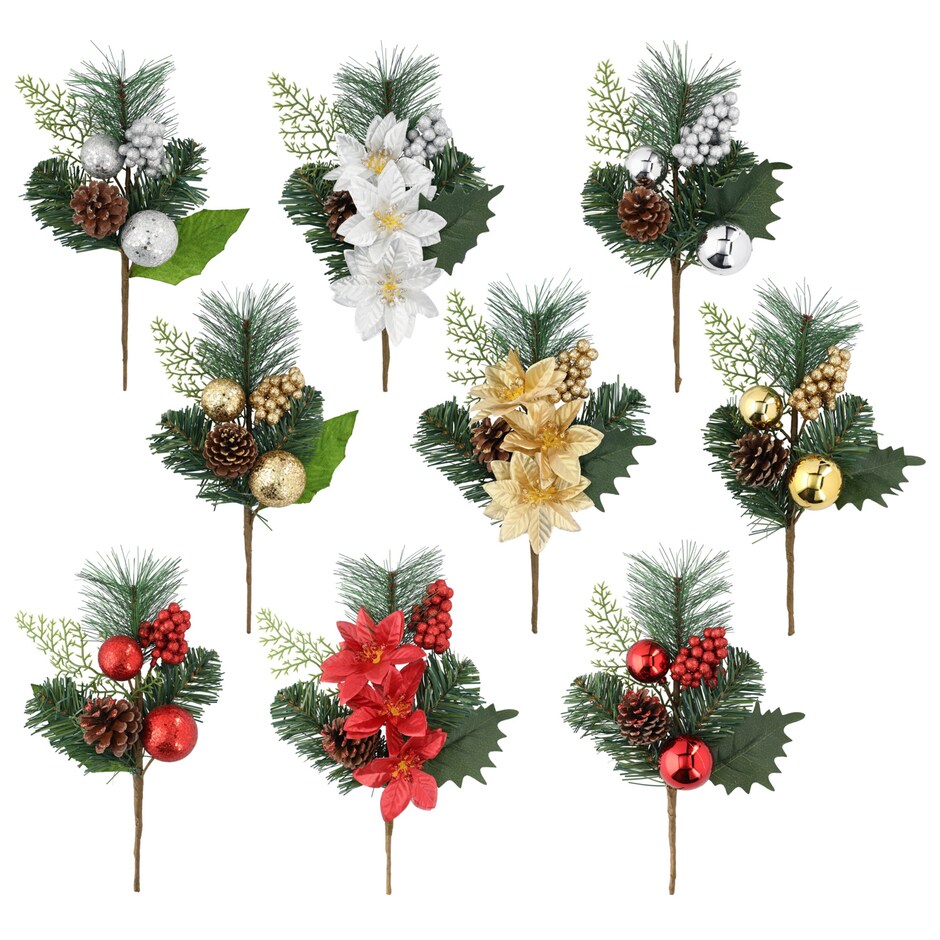
- 2 Christmas Floral Picks/Sprigs (available at Walmart or Dollar Tree)
- Red Satin Ribbon (Dollar Tree)
- Hot Glue Gun/glue sticks
- Scissors
DIY Christmas Bells Instructions
Step 1: Glue Rope to Cups
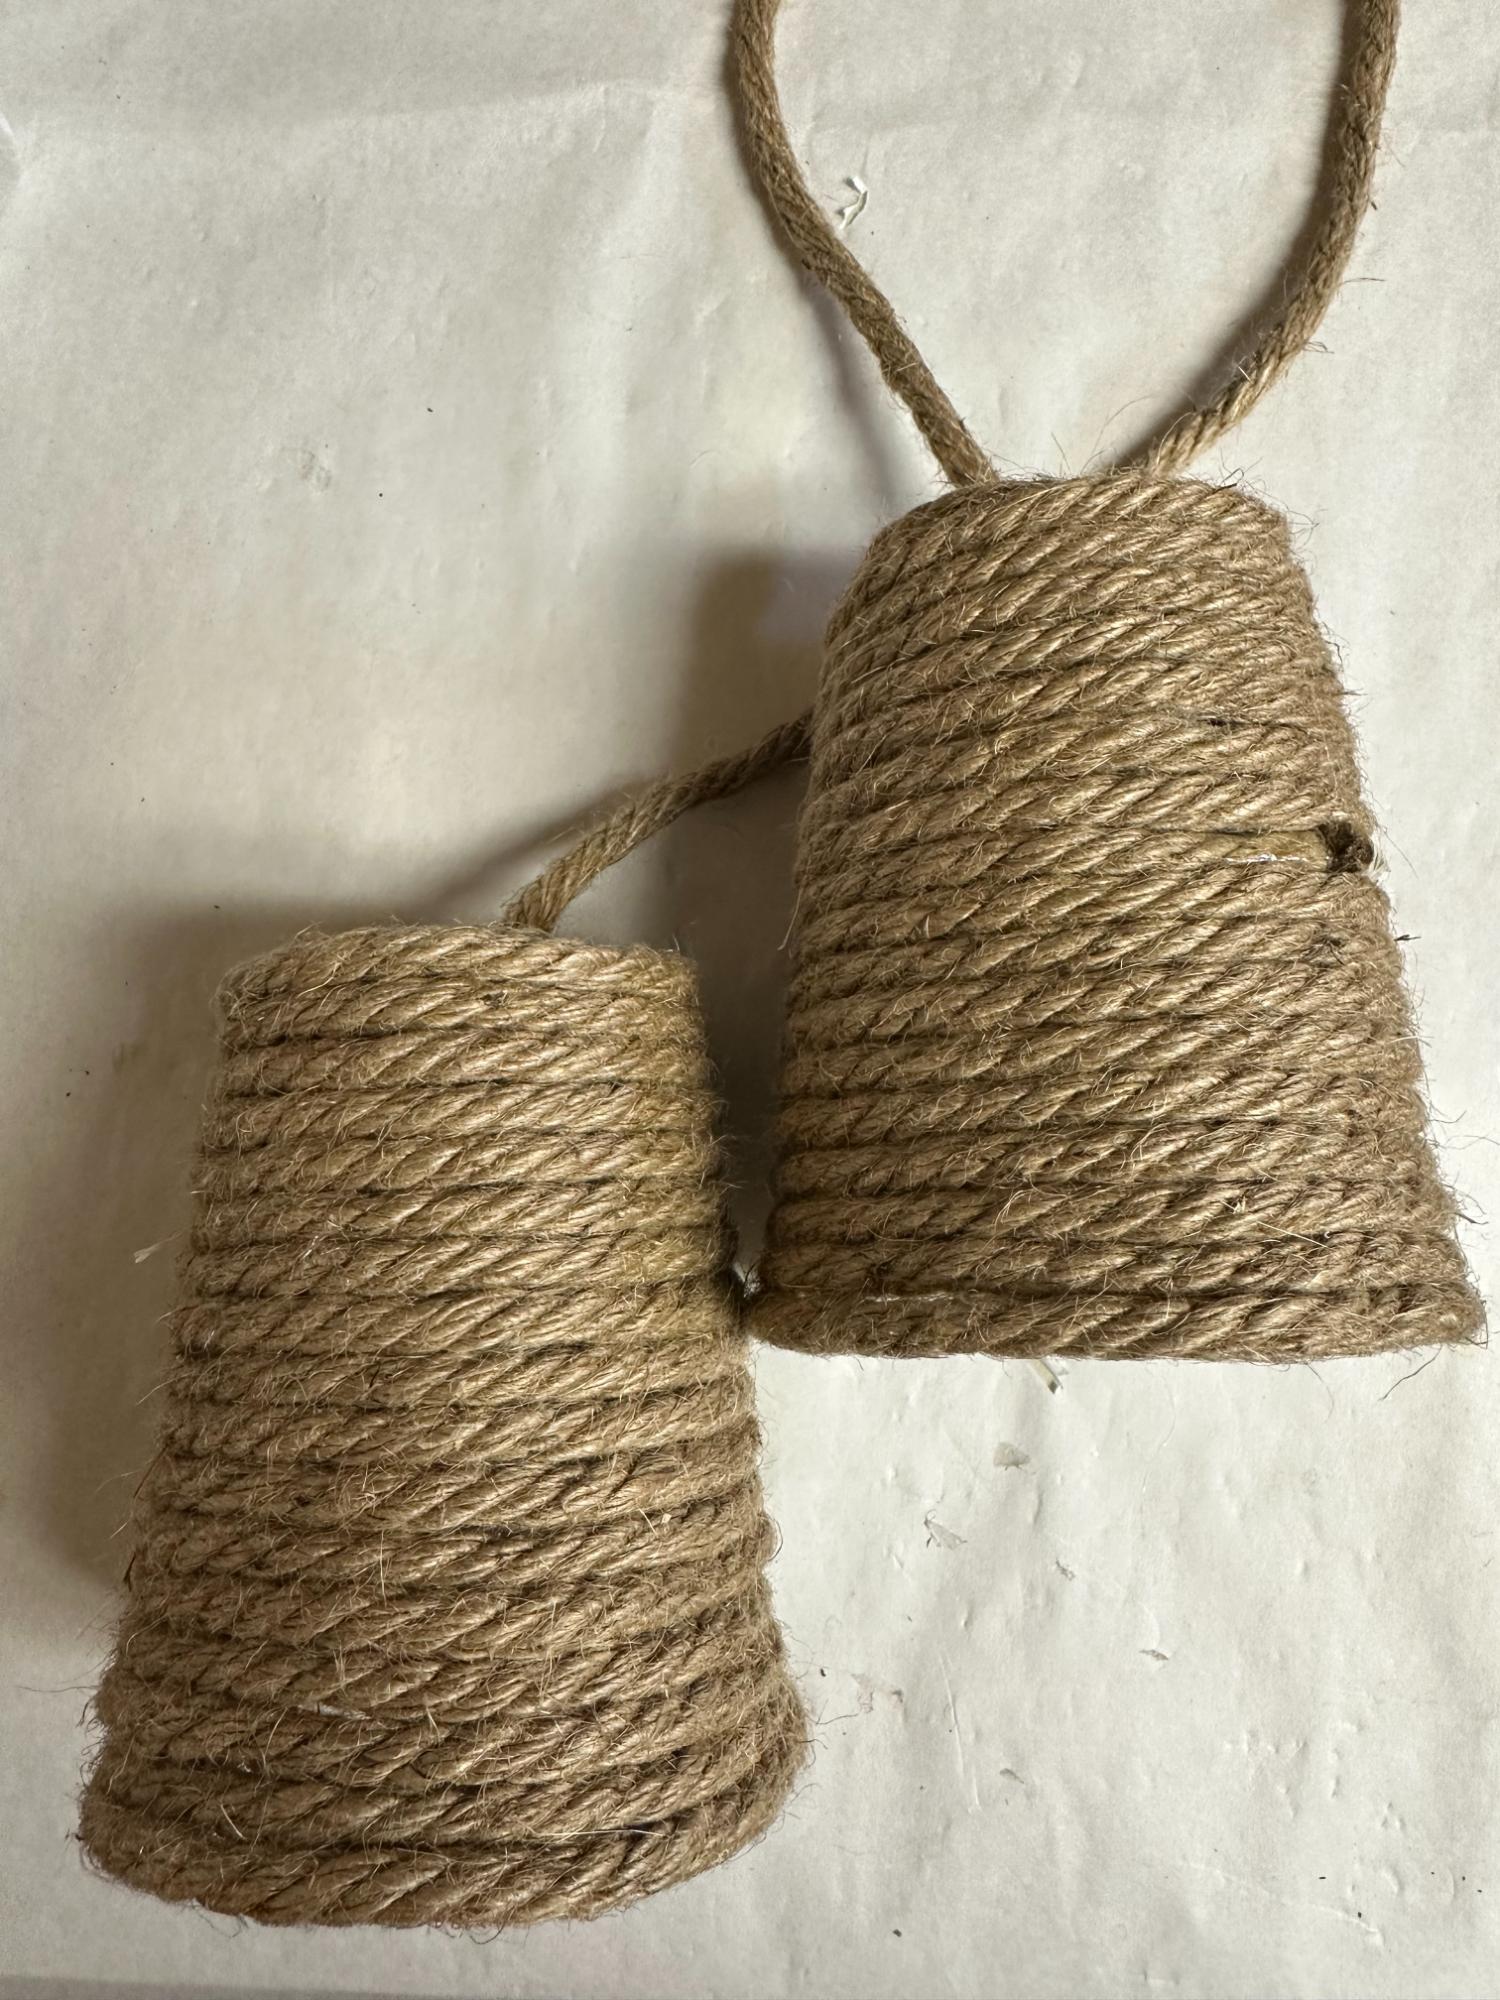
Start by applying a line of hot glue along the top rim of the plastic cup and pressing the nautical rope firmly on top. Continue wrapping and gluing the rope around the cup until you reach the top of the cup. If you run out of nautical rope, seamlessly attach a new piece where you left off.


Flip the cup over and apply hot glue to the bottom flat section. Wrap the rope in the middle and press firmly. Leave about 12 inches of nautical rope to hang from.

Step 2: Repeat
Repeat the process for the second bell, and you can make a third if desired.

Step 3: Add Jingle Bells
Tie a piece of ribbon or jute twine to one of the jingle bell ornaments (or use the string that came with the bells). You want the string to be just long enough that the bell hangs out of the cup section a little bit. Glue the string to flat end of the cup in the center.

Bonus Jingle Cheer: Use 2 small bells inside each cup for extra jingling holiday cheer!
Step 4: Add Ribbon Bow
Cut two pieces of red satin ribbon (about 6 inches each) and create a simple bow.
Attach the bow to the top of the bell using hot glue.

Step 5: Add Greenery
Trim the boxwood or greenery pick to fit the top of the bell. Apply hot glue to the ends and press them underneath the bow.

Step 6: Tie a Knot for Hanging
Tie the two end pieces of the nautical rope together in a simple knot for hanging.


Variations for DIY Christmas Bells
- Color Palette: Experiment with different colors of nautical rope and ribbon to match your holiday theme.
- Additional Decorations: Enhance your wreath by adding small ornaments, holly berries, or artificial snow.
- Personalized Touch: Attach miniature photo frames or small personalized ornaments to make it uniquely yours.
- Gold Bells: If you want to have traditional gold Christmas bells, wrap the cups with gold tinsel instead, or use a thicker cup (like a pencil cup) and spray paint it antique gold. Add rub n’ buff if you’d like extra patina, then attach the rope with glue or by putting a small hole in the top of the cup.
- Jumbo Bells: Use the same concept, but use large bell ornaments and a Dollar Tree bucket to supersize the Christmas bells DIY.
How to Make DIY Christmas Bells from Dollar Tree: Step-by-Step Tutorial
Print Recipe
Ingredients
- 2 Large Plastic Cups Dollar Tree
- 3 Dollar Tree Nautical Rope Coils
- 2-4 Silver Bells Dollar Tree, in a pack of 9
- 2 Christmas Floral Picks/Sprigs available at Walmart or Dollar Tree
- Red Satin Ribbon Dollar Tree
- Hot Glue Gun/glue sticks
- Scissors
Instructions
- Start by applying a line of hot glue along the top rim of the plastic cup and pressing the nautical rope firmly on top. Continue wrapping and gluing the rope around the cup until you reach the top of the cup. If you run out of nautical rope, seamlessly attach a new piece where you left off.
- Flip the cup over and apply hot glue to the bottom flat section. Wrap the rope in the middle and press firmly. Leave about 12 inches of nautical rope to hang from.
- Repeat the process for the second bell, and you can make a third if desired.
- Tie a piece of ribbon or jute twine to one of the jingle bell ornaments (or use the string that came with the bells). You want the string to be just long enough that the bell hangs out of the cup section a little bit. Glue the string to flat end of the cup in the center.
- Cut two pieces of red satin ribbon (about 6 inches each) and create a simple bow.
- Attach the bow to the top of the bell using hot glue.
- Trim the boxwood or greenery pick to fit the top of the bell. Apply hot glue to the ends and press them underneath the bow.
- Tie the two end pieces of the nautical rope together in a simple knot for hanging.
Pin this to share and save for later!

Cassity Kmetzsch started Remodelaholic after graduating from Utah State University with a degree in Interior Design. Remodelaholic is the place to share her love for knocking out walls, and building everything back up again to not only add function but beauty to her home. Together with her husband Justin, they have remodeled 6 homes and are working on a seventh. She is a mother of four amazing girls. Making a house a home is her favorite hobby.


