Easiest DIY Santa Wreath in Under 30 Minutes
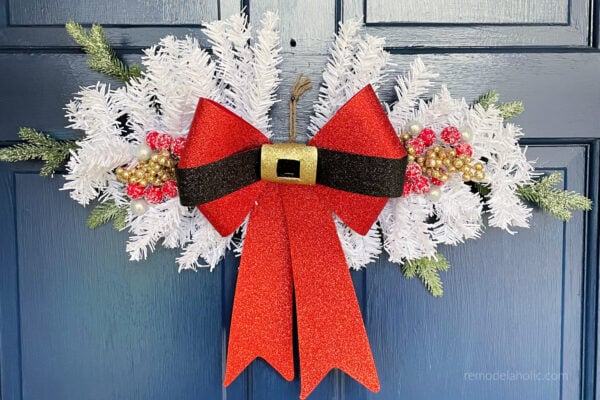
This easy DIY Santa Wreath (featuring Santa’s belt!) is easy to make on a budget, without any fancy skills. Whip up this easy Christmas decor in 30 minutes to decorate your front door for the holiday season.
You’ll also like this Santa Belt Dollar Tree Christmas Swag, Santa-inspired DIY Christmas Gnome Wreath, and this easy paper Santa and Reindeer Garland for the mantel.
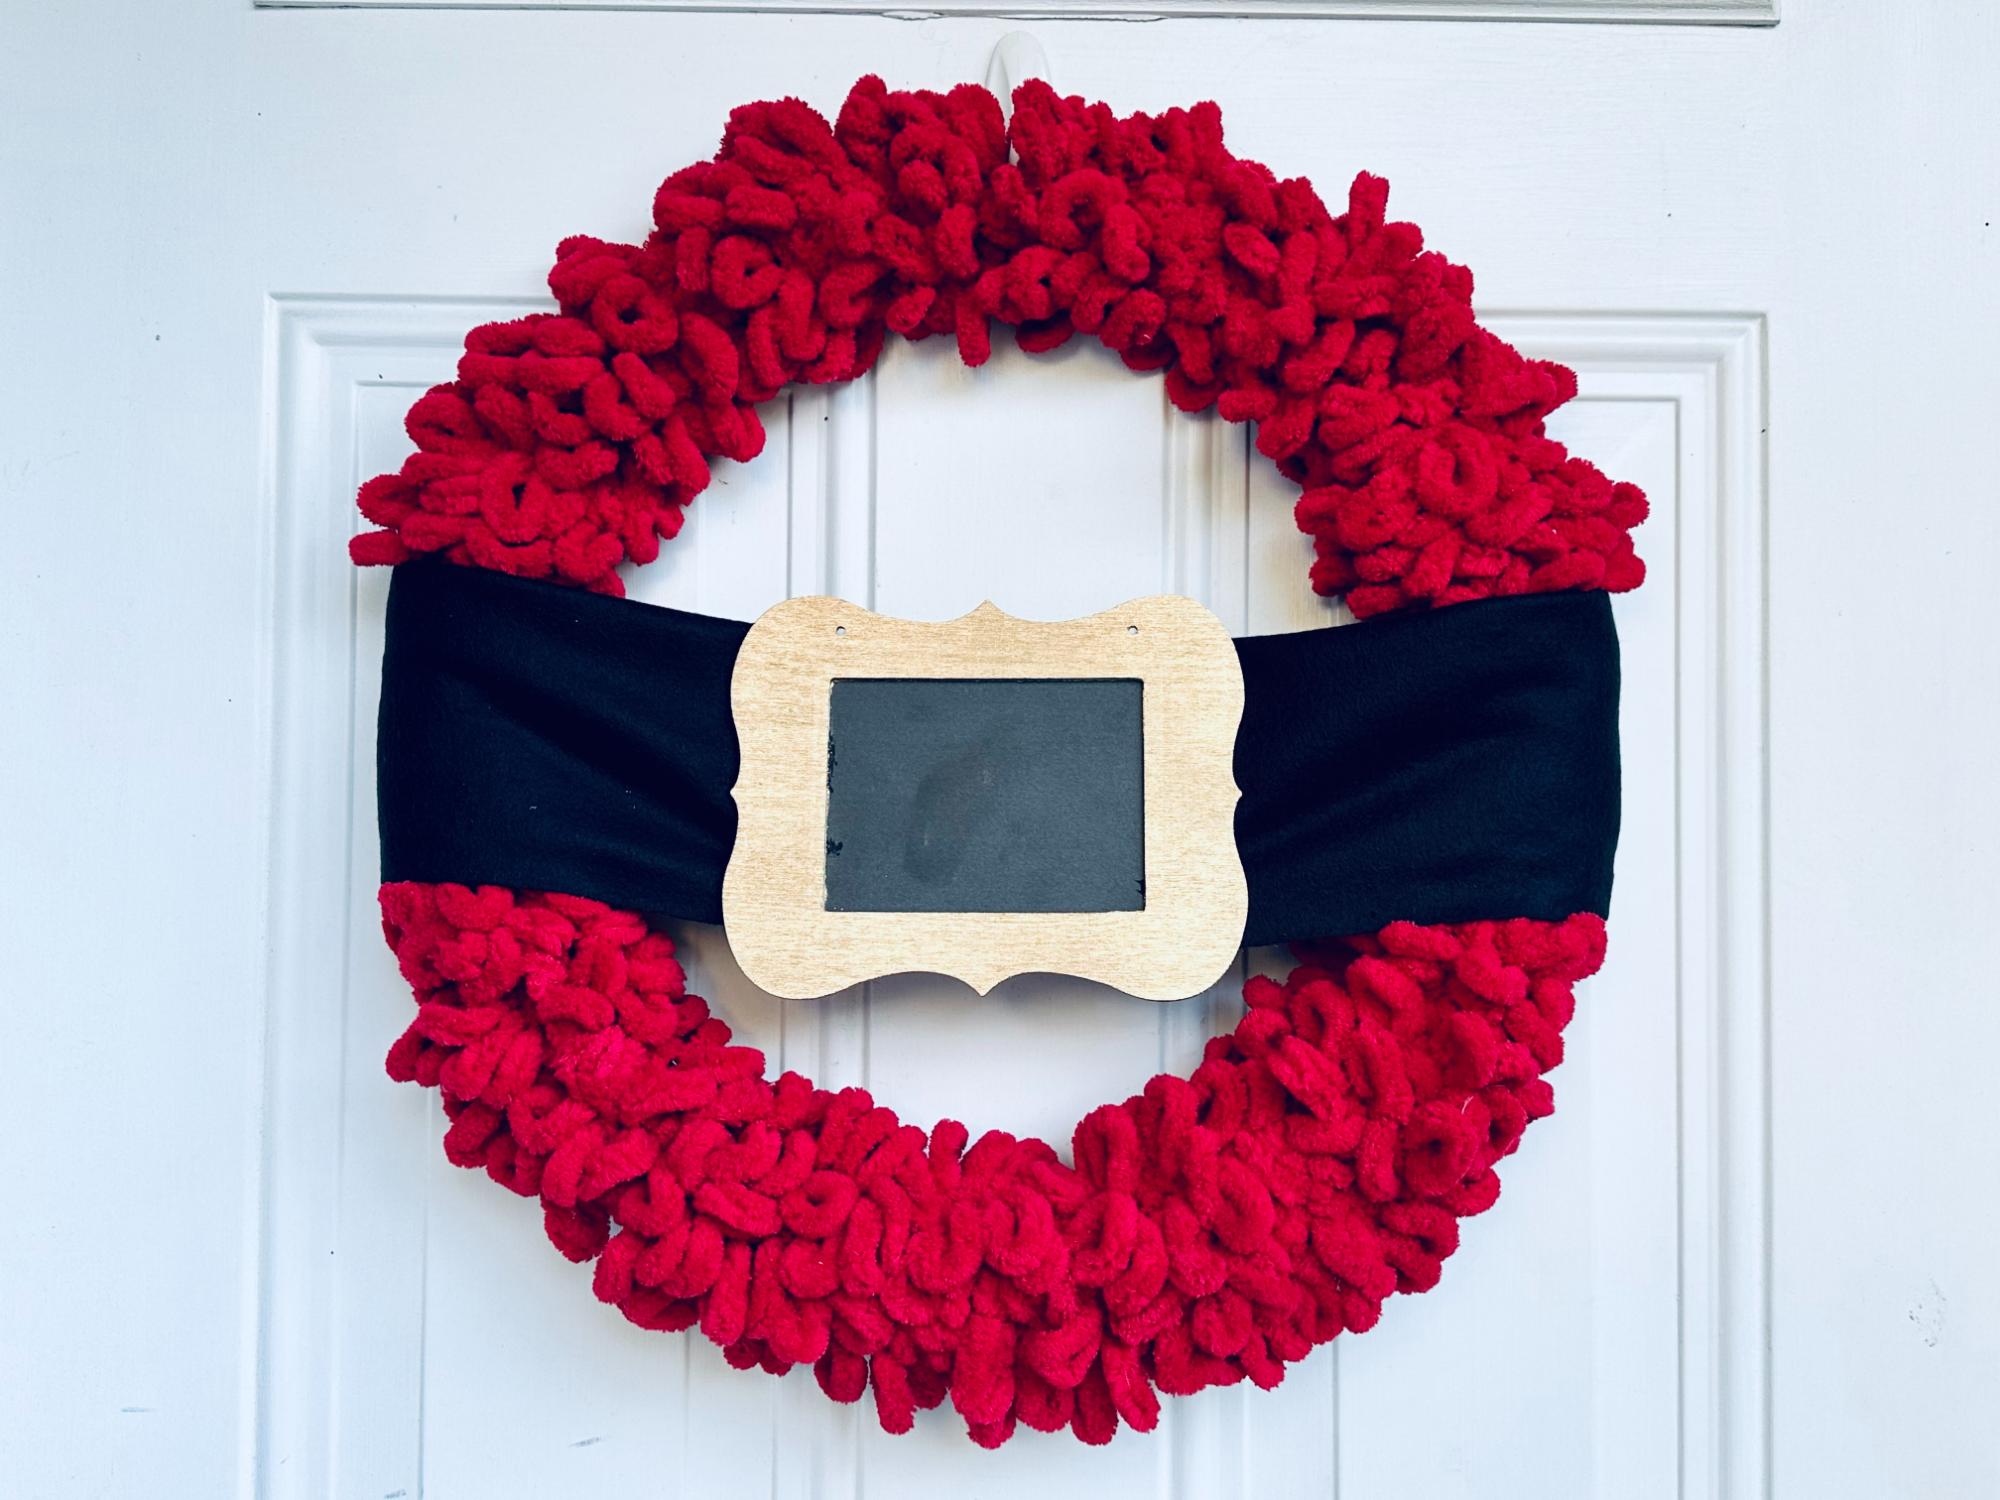
DIY Santa Wreath for Festive Decor
The joyous season of Christmas beckons, and what better way to celebrate than by infusing your home with a touch of handmade warmth? In this DIY blog post, we’re excited to share a step-by-step tutorial on creating a charming Santa Wreath. This easy loop yarn wreath is an enchanting addition to your holiday decor that’s not only easy to make but also budget-friendly. Embrace the festive spirit and let’s dive into the art of crafting your very own Santa-inspired masterpiece.
Why A Loop Yarn DIY Santa Wreath is a Great Craft
The Santa Belt Wreath is more than just a craft; it’s a symbol of the holiday spirit of giving! Crafted from readily available materials from the Dollar Tree and your local craft store, this project embodies the essence of Christmas – joy, creativity, and affordability (under $20!)

The loop yarn wreath base makes this a quick and simple wreath to make, even for kids, and the Santa belt is is quick and easy from Dollar Tree materials for the scarf belt and picture frame buckle. This inviting wreath is both darling and charming to welcome your holiday guests!
Read more about how to make a loop yarn wreath, and see the cutest yarn reindeer wreath
How to Make a Santa Belt Wreath – Step-by-Step Tutorial

Materials
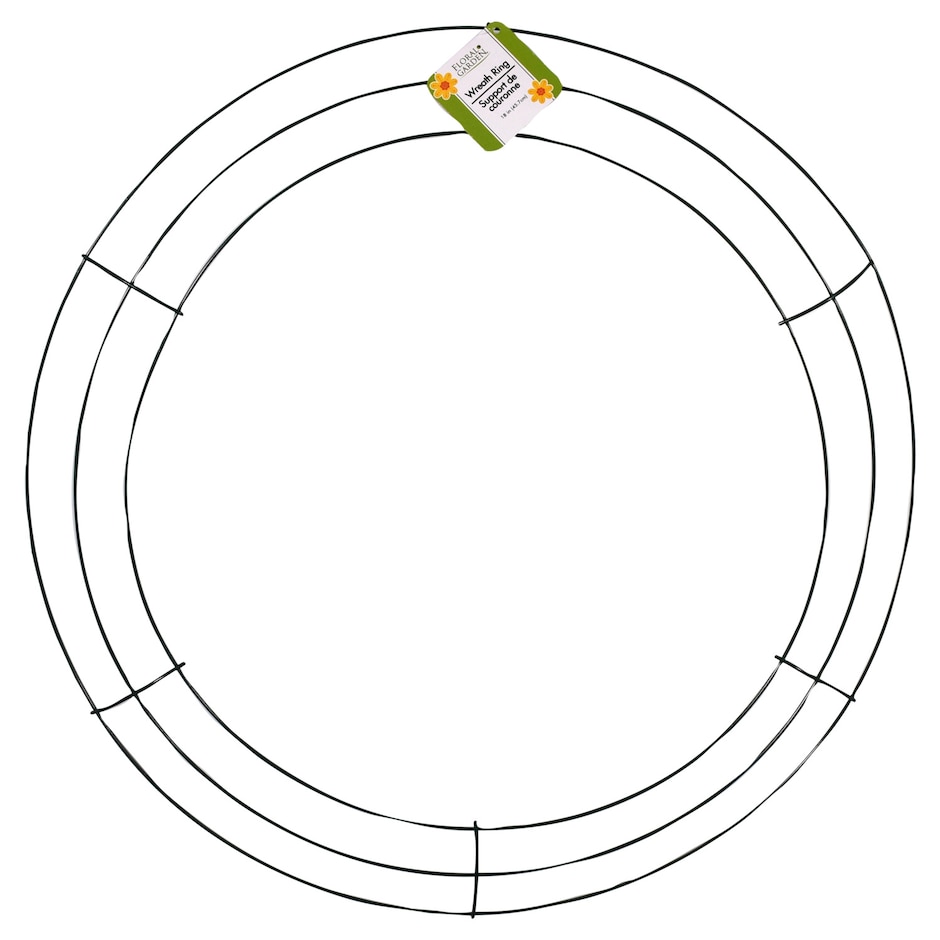
- 18-inch wire wreath form (Dollar Tree)
- Black Fleece Scarf (Dollar Tree)
- Scalloped wooden frame with chalkboard center (Dollar Tree)
- Gold Spray Paint (or acrylic paint)
- Blue Painters tape (or paper)
- Hot Glue Gun/glue sticks
- Red Loop Yarn (we used Bernat Alize yarn in Crimson from Joann; find similar yarn at Walmart and on Amazon or Etsy, or sub in fuzzy chenille yarn)
- Scissors
PS: If you’re wanting to make your own holiday wreaths for Christmas or throughout the year, it’s worth buying wreath forms in bulk from Dollar Tree online! You can also get many other materials in quantities as small as 4, so you can stock up on supplies and craft whenever the creative mood strikes.
Step by Step DIY Santa Wreath
Step 1: Wrap the Loop Yarn
Begin by tying the end of the yarn around the outer wire of the wreath form.

Wrap the yarn tightly around the entire wreath form, ensuring it’s wrapped snugly for a fuller appearance. Use the entire bundle of yarn to completely cover the wreath form.

Use a few dabs of hot glue to hold the yarn in place if needed.

Step 2: Turn The Scarf Into a Belt
Fold the black fleece scarf in half lengthwise and lay it over the center of the wreath form. Cut the scarf to be about 24 inches long, creating a perfect fit for the wreath.

Step 3: Paint the Belt Buckle Frame
Cover the center of the wooden frame with blue painters tape (or paper), leaving the outer edges exposed. Paint the exposed frame with gold spray paint (or acrylic paint). Allow it to dry completely before moving on to the next step.
If you can’t find a chalkboard frame like this, you can use a regular frame and paint the center black.
Step 4: Attaching the Frame
Apply hot glue to the backside of the frame and carefully place it in the center of the fleece scarf on the wreath. Press firmly to ensure it adheres securely to the fabric.

If the center of the frame comes out, you could also hold the frame in place by taking the backing out, tucking the center of the scarf/belt into the frame, and then replacing the backing.

Step 5: Securing the Scarf
Apply hot glue to one end of the scarf and press it firmly to the backside of the wreath. Stretch the scarf across the front of the wreath and glue down the other end to the backside, creating a neat and secure appearance.

Variations for the DIY Santa wreath
- Top It Off: Add an extra Santa touch by adding a Santa hat to the top of the wreath.
- Ornament Embellishments: Attach small ornaments or baubles to the wreath for added festive charm.
- Add Greenery: Nothing says Christmas like greenery, so add a sprig of pine, eucalyptus, mistletoe, or magnolia leaves and pine cones and red berries to the wreath for extra holiday cheer.
- Santa’s Little Helpers: Incorporate miniature Santa figurines or elves around the wreath for a playful touch.
- Ribbon Magic: Use colorful ribbons to tie bows around the wreath, introducing a pop of contrasting color.
For Christmas decor on a budget, it’s hard to beat Dollar Tree Christmas ideas like these! Enjoy these crafts, decor, and gift ideas.
DIY Santa Wreath FAQs
Can I substitute the fleece scarf with a different fabric?
Absolutely! Experiment with different textures and colors to customize your Santa Belt Wreath. You could try using felt or faux leather, or wide black ribbon. You could even use a real black belt with a belt buckle instead (check the thrift stores!).
Where can I find the loop yarn?
We used Bernat Alize yarn in Crimson, which you can find Purchase it at craft stores like Joanns or find it online at Walmart and Amazon.
What can I use for the red wreath if I can’t find the loop yarn?
The loop yarn adds bulk and texture, but if you can’t find any loop yarn near you or online, you can use regular red yarn. For added texture and fun, make a red pom pom wreath! Just use a pom pom maker (or our trick here to make lots of pom poms FAST) to make a bunch of red yarn pom poms, then tie them onto the wreath form (or use floral wire and/or hot glue). Then add the Santa belt like in the tutorial.
You could also use red deco mesh, or wrap a wreath form with red burlap like this snowflake wreath.
Can I use a different frame for the wreath?
Certainly! Explore alternative frames or repurpose existing ones for a unique twist. A faux pine wreath spray painted red would be a fun alternative, or a paper curl wreath like this one we made.
How to Make a DIY Santa Wreath – Step-by-Step Tutorial
Print Recipe
Ingredients
- 18-inch wire wreath form Dollar Tree
- Black Fleece Scarf Dollar Tree
- Scalloped wooden frame with chalkboard center Dollar Tree
- Gold Spray Paint or acrylic paint
- Blue Painters tape or paper
- Hot Glue Gun/glue sticks
- Red Loop Yarn we used Bernat Alize yarn in Crimson from Joann; find similar yarn at Walmart and on Amazon or Etsy, or sub in fuzzy chenille yarn
- Scissors
Instructions
- Begin by tying the end of the yarn around the outer wire of the wreath form. Wrap the yarn tightly around the entire wreath form, ensuring it's wrapped snugly for a fuller appearance. Use the entire bundle of yarn to completely cover the wreath form. Use a few dabs of hot glue to hold the yarn in place if needed.
- Fold the black fleece scarf in half lengthwise and lay it over the center of the wreath form. Cut the scarf to be 24 inches long, creating a perfect fit for the wreath.
- Cover the center of the wooden frame with blue painters tape (or paper), leaving the outer edges exposed. Paint the exposed frame with gold spray paint (or acrylic paint). Allow it to dry completely before moving on to the next step.
- Apply hot glue to the backside of the frame and carefully place it in the center of the fleece scarf on the wreath. Press firmly to ensure it adheres securely to the fabric.
- Apply hot glue to one end of the scarf and press it firmly to the backside of the wreath. Stretch the scarf across the front of the wreath and glue down the other end to the backside, creating a neat and secure appearance.
Notes

Cassity Kmetzsch started Remodelaholic after graduating from Utah State University with a degree in Interior Design. Remodelaholic is the place to share her love for knocking out walls, and building everything back up again to not only add function but beauty to her home. Together with her husband Justin, they have remodeled 6 homes and are working on a seventh. She is a mother of four amazing girls. Making a house a home is her favorite hobby.


