Super Simple Dollar Tree DIY Christmas Gnome Wreath in 30 Minutes
Add some jolly holiday cheer to your front door with this DIY Christmas Gnome Wreath made from Dollar Tree supplies in under an hour! Grab a miniature Christmas tree and a Santa hat and get crafting your very own Dollar Tree Christmas gnome wreath.
You’ll also like this Dollar Tree Christmas Swag made from mini Christmas trees, this easy DIY Santa Wreath, and our simple paper Santa and Reindeer Garland for the mantel.

Unleash Holiday Magic with the Dollar Tree Christmas Gnome Wreath: A DIY Delight
The holiday season is upon us, and what better way to spread the festive cheer than by indulging in a delightful Christmas craft? If you’re a fan of thrifty creations and whimsical decor, the Dollar Tree Christmas Gnome Wreath is your ticket to a budget-friendly and charming addition to your holiday home.
This Santa gnome wreath combines the enchanting allure of gnomes (especially Christmas gnomes!) with the affordability of Dollar Tree supplies, making it a perfect project for both novice and seasoned crafters. In this comprehensive guide provide you with a step-by-step tutorial, plus variations and troubleshooting common Christmas wreath questions.
For Christmas decor on a budget, it’s hard to beat Dollar Tree Christmas ideas like these! Enjoy these crafts, decor, and gift ideas.
Why This is a Great Christmas Craft
The Dollar Tree Christmas Gnome Wreath is a stellar choice for a Christmas craft for several reasons. Firstly, it’s budget-friendly, tapping into the affordability of Dollar Tree supplies. In a season often associated with increased expenses, finding a craft that lets you create a stunning decoration without breaking the bank is a win. You can make this wreath for around $10 with some on-hand supplies (or under $20 at Dollar Tree even if you have to buy everything including the hot glue gun!)

Secondly, gnomes have become iconic holiday figures, adding a whimsical and playful touch to your decor. This wreath combines the charm of gnomes with the traditional Christmas wreath, creating a unique and eye-catching piece that will undoubtedly be a conversation starter. And you made it yourself!

Finally, crafting during the holiday season is not just about the end result but the experience itself. This DIY project provides an opportunity for creativity, relaxation, and a sense of accomplishment as you bring a festive vision to life. In just a few steps, you’ll make a gnome’s beard from mini Christmas trees and add a Santa gnome’s hat for the cutest easiest Christmas gnome wreath! So, turn on your favorite Christmas movie and get to creating!
This post contains affiliate links. Learn more and read our full disclosure policy here.
How to Make a Santa Christmas Gnome Wreath: Step-by-Step Tutorial

Supplies for a Christmas Dollar Tree Gnome Wreath
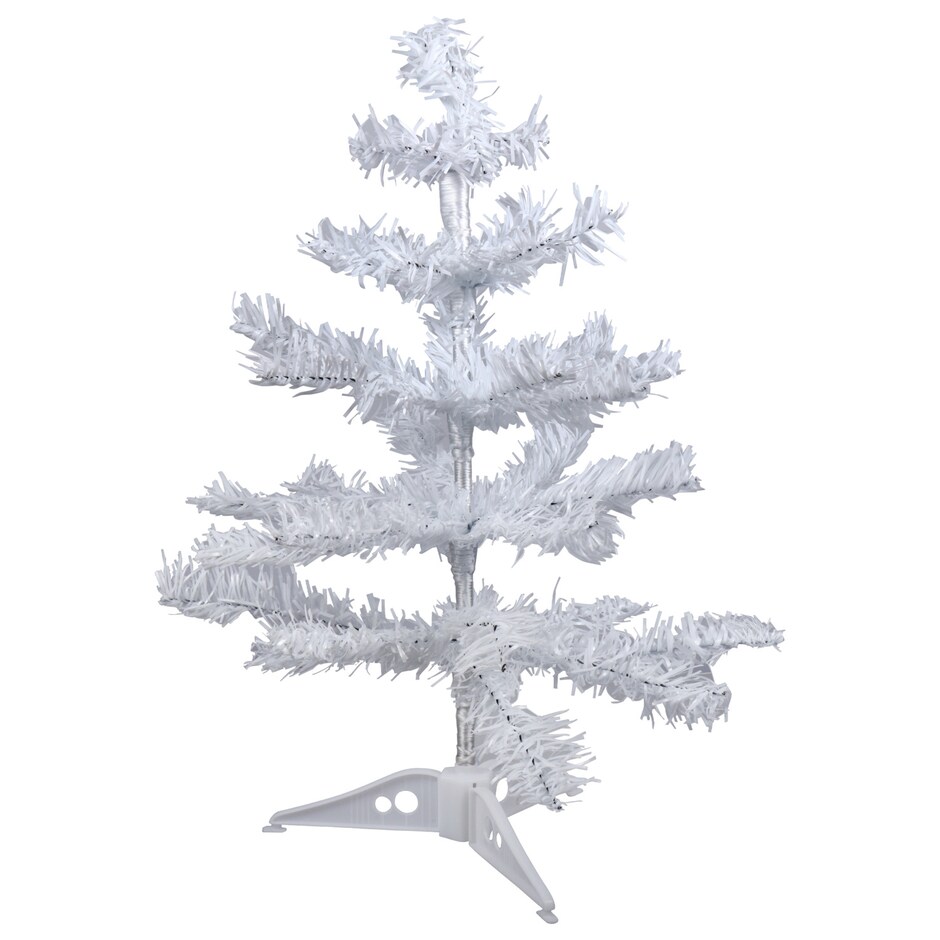
- 2 white mini Christmas trees from Dollar Tree (or recycle your old fake Christmas tree branches!)
- White Ping Pong Ball (6-pack from Dollar Tree, and use the others for another gnome!)
- Pine Picks (Dollar Tree)
- Twine (from Dollar Tree)
- Scissors
- Hot Glue Gun/glue sticks
- Red Santa Hat (Dollar Tree)
- Small Zip Ties (Dollar Tree)
- Silver Bell (optional, Dollar Tree multipack)
- Plastic bags to fill the Santa hat
Instructions
Step 1: Prep the Gnome’s Beard Mini Trees
Remove the trees from their boxes, discard the bottom pieces, and arrange the branches for a fuller look while ensuring the trees can lay flat.

Step 2: Zip-Tie the Trees
Stagger the trees on top of each other to form a triangle shape and secure the trunks together with zip ties. I used 3 for stability.

Step 3: Add Santa Gnome’s Hat
Fill the Santa hat with leftover shopping bags to make it fuller. Hot glue the hat to the tree branches, ensuring a secure bond.

Step 4: Add Gnome’s Nose
Apply hot glue to the ping pong ball and press it firmly onto the tree branches.


Step 5: Accessorize the Gnome’s Hat
Add hot glue to the pine picks and place them in the pocket section of the hat.


Trim the pom-pom from the end of the hat and hot glue the bell on for a jingling effect.

Create a small twine bow and hot glue it to the hat in front of the pine picks.

Step 6: Hang the Gnome Wreath
Cut a piece of twine and hot glue it to the back of the wreath for hanging.

DIY Christmas Gnome Wreath Variations
Customize your Dollar Tree Christmas Gnome Wreath to match your personal style or existing decor. Here are some ideas to change it up:
- Glittery Gnome: Add tinsel garland to the gnome’s beard for a glimmering Christmas gnome wreath (or use silver mini tinsel trees instead of white!)
- Elf Gnome: Swap the Santa hat for a green elf hat or festive striped stocking hat, and consider adding elf feet (also from the Dollar Tree) to the bottom of the wreath to make an elf gnome wreath instead.
- Light It Up: Add a string of battery powered lights to the Santa gnome’s beard for a fun lighted wreath idea.
- Gnome Nose Ideas: Instead of ping pong ball, use a Christmas ornament or jingle bell for the gnome’s nose.
- Hat Trick: Use pine cones or other greenery stems in the Santa gnome hat for holiday accessories.
- Festive Greetings: Add a small frame or wood sign, tied on with ribbon, so your gnome can say “Welcome” “Merry Christmas” “Ho Ho Ho” or, my favorite – “Gnome for the Holidays”.
How To: Make a hand-painted Welcome Santa sign (with template!) or your own custom painted wood sign.

Common Questions About the Dollar Tree Christmas Gnome Wreath
Can I use a different type of hat?
Absolutely! Experiment with different hat styles, colors, or even knit your own for a truly personalized touch.
How can I make the wreath weather-resistant?
Consider using outdoor-friendly materials if you plan to display your wreath outdoors. Use a stronger crafting glue such as E6000, since hot glue can sometimes fail in cold weather.
Where else can I find the supplies if my Dollar Tree doesn’t have them?
While Dollar Tree is a fantastic resource, you can explore other discount stores, craft shops, or online retailers for similar affordable items during the Christmas season.
How to Make a Santa Christmas Gnome Wreath: Step-by-Step Tutorial

Ingredients
- 2 white mini Christmas trees from Dollar Tree or recycle your old fake Christmas tree branches!
- White Ping Pong Ball 6-pack from Dollar Tree, and use the others for another gnome!
- Pine Picks Dollar Tree
- Twine from Dollar Tree
- Scissors
- Hot Glue Gun/glue sticks
- Red Santa Hat Dollar Tree
- Small Zip Ties Dollar Tree
- Silver Bell optional, Dollar Tree multipack
- Plastic bags to fill the Santa hat
Instructions
- Remove the trees from their boxes, discard the bottom pieces, and arrange the branches for a fuller look while ensuring the trees can lay flat.
- Stagger the trees on top of each other to form a triangle shape and secure the trunks together with zip ties. I used 3 for stability.
- Fill the Santa hat with leftover shopping bags to make it fuller. Hot glue the hat to the tree branches, ensuring a secure bond.
- Apply hot glue to the ping pong ball and press it firmly onto the tree branches.
- Add hot glue to the pine picks and place them in the pocket section of the hat. Trim the pom-pom from the end of the hat and hot glue the bell on for a jingling effect.
- Create a small twine bow and hot glue it to the hat in front of the pine picks.
- Cut a piece of twine and hot glue it to the back of the wreath for hanging.
Notes
Cassity Kmetzsch started Remodelaholic after graduating from Utah State University with a degree in Interior Design. Remodelaholic is the place to share her love for knocking out walls, and building everything back up again to not only add function but beauty to her home. Together with her husband Justin, they have remodeled 6 homes and are working on a seventh. She is a mother of four amazing girls. Making a house a home is her favorite hobby.


