Easy $6 Dollar Tree Snowman Wreath for a Rustic Christmas
Ready to make a Dollar Tree wreath for winter and Christmas? Make this cheap and easy Dollar Tree snowman wreath using garland and rope for a rustic winter front door decoration.
You can also make this easy fluffy Dollar Tree snowman wreath, or try this easy Christmas wreath from only Dollar Tree supplies!

DIY Dollar Tree Snowman Wreath: A Budget-Friendly Christmas Craft
It’s been so fun making and sharing all of our Dollar Tree Christmas DIY wreath ideas with you in our quest for festive and budget-friendly decorations. While we enjoy decorating for Christmas, sometimes the post-Christmas decorating feels like a drag. So this Dollar Tree snowman wreath is perfect to make now for Christmas, and leave up through the rest of the winter season! This charming creation not only adds a touch of winter whimsy to your home but is also easy on the wallet.
We’ll show you the quick and easy step-by-step tutorial to turn the wire frame into a darling rustic snowman wreath, plus some creative variations to adjust to your style or available materials.
Try This: Simple Pinecone Wreath with Lights
Readers love this simple DIY pinecone wreath with a bit of greenery and magical fairy lights!
Why Dollar Tree Snowman Wreath is a Great Christmas Craft
The Dollar Tree Snowman Wreath combines affordability with creativity, making it an ideal Christmas craft for the holiday season when your budget might already be stretched. Firstly, all the supplies can be found at Dollar Tree, ensuring that you won’t break the bank to create a festive masterpiece.

Additionally, crafting the snowman wreath is a joyful activity for individuals and families, fostering a sense of togetherness during the holiday season. The finished product adds a whimsical and rustic charm to your decor, making it an excellent handmade addition to your Christmas collection.
How to Make a Dollar Tree Snowman Wreath
Materials

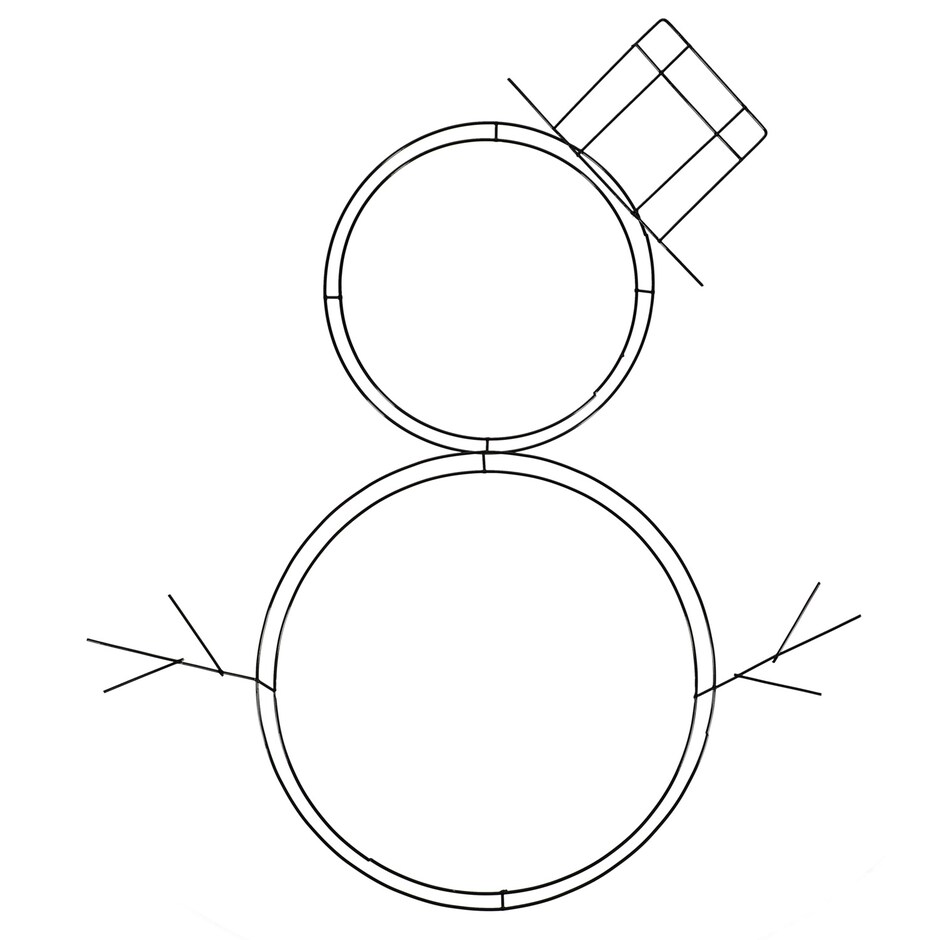
- 1 Dollar Tree Snowman Wreath form
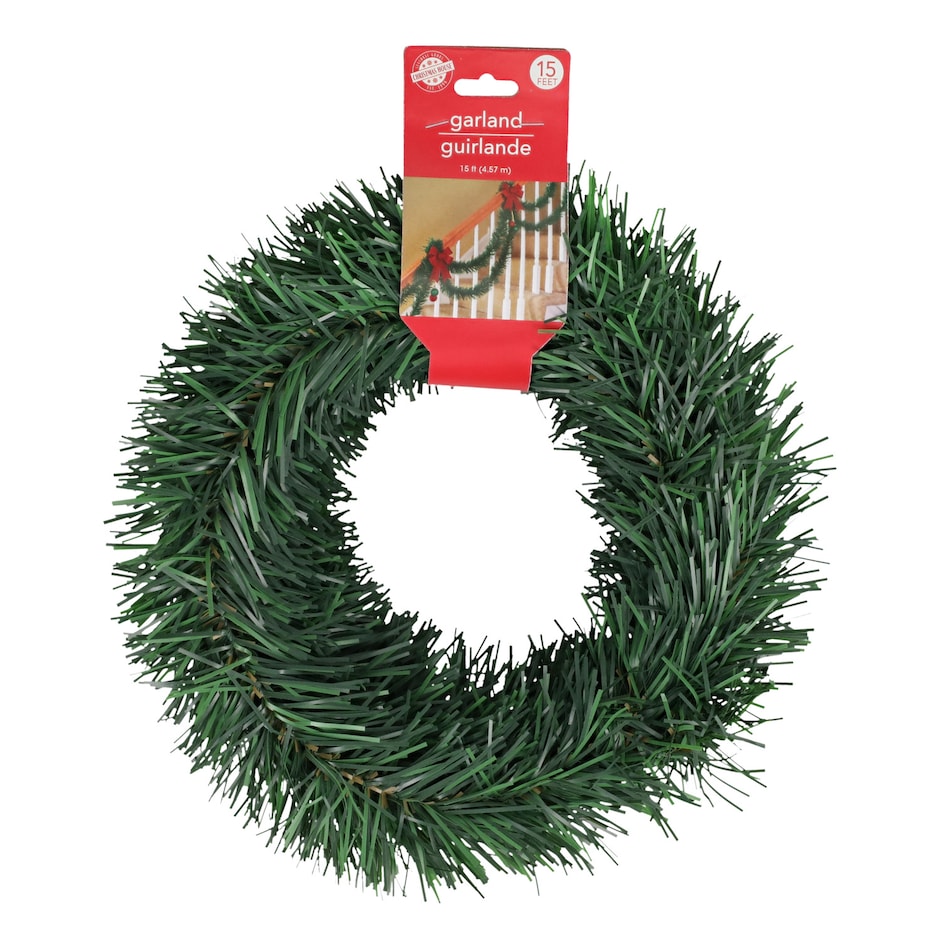
- 1 Dollar Tree garland (15 feet)
- 1 Poinsettia flower (Dollar Tree or leftover from another project)
- 1 small roll of nautical rope (Dollar Tree, 9.5 feet)
- Scissors
- Hot Glue Gun/glue sticks
*We substituted the bright red flower for a scarf for variety and to stay with the nature theme of this snowman wreath, but you could also grab a dollar store wreath for the snowman like we used for the fluffy snowman wreath.
*You could also remove the wire form arms and use real twigs for the arms (and for the hat if you’d like an all-natural snowman wreath!)
DIY Snowman Wreath Instructions
Step 1: Glue Garland to Wreath Form
Start by adding a line of hot glue to the snowman wreath form, beginning on the right side of the middle section between the head and the body, where the circles meet.

Press the garland on top and repeat around the bottom circle body and the top circle head. Trim the end and hot glue to the back.

Try to glue the center of the garland so the greenery is free to cover up the wire wreath form.

Step 2: Add Snowman Rope Arms
Place nautical rope on the small arm branches, cut to length, and hot glue in place.

Repeat for the other arm.

Step 3: Add Flower “Scarf”
Hot glue the poinsettia flower onto the wreath form, where the snowman head meets the body (or tie on a scarf).

Step 4: Top It With a Hat
For the hat, add glue to the top piece of the wire form and press the rope firmly into the glue.

Wrap the rope around around the backside of the snowman wreath form hat section, and secure with hot glue. Repeat until the entire hat section is covered.

Cut and wrap the end, securing it with hot glue.

Measure and secure a piece of nautical rope for the last section of the hat brim.

Variations for the Dollar Tree Snowman Wreath
- Festive Fabric: Instead of garland, use strips of festive fabric for a cozy and colorful look, or tie a fabric or ribbon bow like this instead of using the poinsettia flower as a scarf.
- Ornament Embellishments: Glue small ornaments or festive trinkets to the snowman wreath’s winter hat for added holiday flair.
- Glitter Galore: Swap the evergreen garland or rope for tinsel or add a touch of sparkle by applying glitter to the garland or incorporating glittery elements.
- Snowman Hat Options: The rustic look of the rope fits this snowman well, but if you can’t find rope or want a different look, you could use felt or leather like we used on the fluffy snowman, or wrap the wire form with twine or yarn instead.
For Christmas decor on a budget, it’s hard to beat Dollar Tree Christmas ideas like these! Enjoy these crafts, decor, and gift ideas.
Common Questions about Dollar Tree DIY Snowman Wreath
Can I use a different wreath form?
While the Dollar Tree Snowman Wreath form is recommended for budget reasons, feel free to experiment with other forms for different shapes and sizes.
If you can’t find the snowman form at your local dollar store, pick up a large circle wreath and a small circle wreath instead, then attach them together using zip ties.
Where can I find the nautical rope at Dollar Tree?
The nautical rope can usually be found in the crafting section of Dollar Tree, often near the floral supplies and the twine.
Can I personalize the wreath further
Absolutely! Consider adding personal touches like bows, ribbon, or even small LED lights to make it uniquely yours. Use what materials you can find at your local Dollar Tree, or what you have around the house at no extra cost. Black mesh, a faux fur pillow, leftover Christmas garland or ornaments – customize your snowman wreath and it will look amazing!
How do I get the rope to stick to the wire form?
If the thick rope isn’t staying glued to the form well, add a piece of cardboard. Glue the cardboard square to the back of the wire hat section, then glue the rope to both the cardboard and the wire.
How to Make a Dollar Tree Snowman Wreath
Print RecipeIngredients
- 1 Dollar Tree Snowman Wreath form
- 1 Dollar Tree garland 15 feet
- 1 Poinsettia flower Dollar Tree or leftover from another project
- 1 small roll of nautical rope Dollar Tree, 9.5 feet
- Scissors
- Hot Glue Gun/glue sticks
Instructions
- Start by adding a line of hot glue to the snowman wreath form, beginning on the right side of the middle section between the head and the body, where the circles meet. Press the garland on top and repeat around the bottom circle body and the top circle head. Trim the end and hot glue to the back. Try to glue the center of the garland so the greenery is free to cover up the wire wreath form.
- Place nautical rope on the small arm branches, cut to length, and hot glue in place. Repeat for the other arm.
- Hot glue the poinsettia flower onto the wreath form, where the snowman head meets the body (or tie on a scarf).
- For the hat, add glue to the top piece of the wire form and press the rope firmly into the glue. Wrap the rope around around the backside of the snowman wreath form hat section, and secure with hot glue. Repeat until the entire hat section is covered. Cut and wrap the end, securing it with hot glue. Measure and secure a piece of nautical rope for the last section of the hat brim.
Notes
Pin this to share and save for later!

Cassity Kmetzsch started Remodelaholic after graduating from Utah State University with a degree in Interior Design. Remodelaholic is the place to share her love for knocking out walls, and building everything back up again to not only add function but beauty to her home. Together with her husband Justin, they have remodeled 6 homes and are working on a seventh. She is a mother of four amazing girls. Making a house a home is her favorite hobby.


