30 Minute Dollar Tree Candy Cane Wreath for Christmas
Wondering how to use that cute candy cane wreath form from Dollar Tree? We’ll show you the fastest, easiest, and cutest way to make a Dollar Tree Candy Cane Wreath DIY for Christmas, featuring an elf straight from Santa at the North Pole.
See how to make a real candy cane wreath here, and be sure to check out this easy Dollar Tree Christmas Wreath (that you can leave up all winter!) and reader-favorite lighted pinecone wreath tutorial.

Candy canes are synonymous with Christmas (even if they do come in dozens of flavors now!) so what better way to welcome in the magic of the season than with an easy elf candy cane wreath? Your front door will look like an entrance to the North Pole.
If you’re looking for a fun and budget-friendly Christmas craft, a Dollar Tree candy cane wreath is a fantastic choice for easy Christmas Decor. In this step-by-step guide, we’ll show you how to make a charming Dollar Tree Elf Candy Cane Wreath that will not only add a touch of whimsy to your holiday decor but also save you money over purchasing a wreath from the store.
Why a Candy Cane Wreath is a Great Christmas Craft
Crafting a cheerful candy cane wreath is a fantastic Christmas activity for several reasons:
- Affordability: Using materials primarily from Dollar Tree, this project is budget-friendly. You don’t have to break the bank to decorate your home for the holidays.
- Creativity: Making your wreath allows you to add your personal touch. You can customize it to match your existing decor or create a unique design that reflects your style.
- Fun for All Ages: This craft is suitable for the entire family, including young kids. It’s a great way to spend quality time together during the holiday season.
Now, let’s dive into the step-by-step tutorial on how to create your own Dollar Tree Elf Candy Cane Wreath.
How to Make a Dollar Tree Elf Candy Cane Wreath – Step by Step Tutorial
This simple DIY candy cane wreath requires just a few supplies and a few minutes to put together! It makes a wonderful beginning to a magical holiday wonderland.
This post contains affiliate links. Learn more and read our full disclosure policy here.
Materials You Will Need

- Large Candy Cane Wreath Form (Dollar Tree)
- White Faux Fur Scarf (ours is called a muffler, from Dollar Tree)*
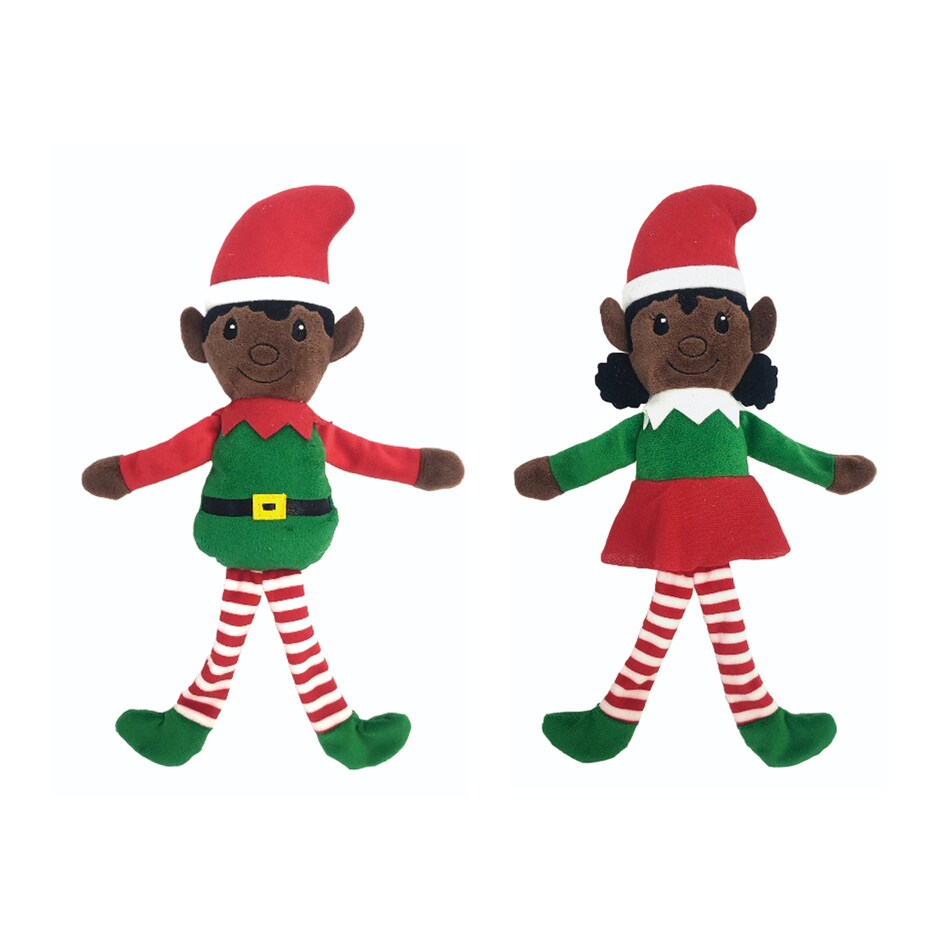
- Elf Stuffed Plush (Dollar Tree, available online in small quantities)
- Hot Glue Gun and Hot Glue Sticks
- Green Burlap Ribbon (Dollar Tree floral section)
- Red Satin Ribbon (Dollar Tree)
- Scissors
- Optional: Berries and Greenery Picks (if desired for additional decoration)
*The scarf is made from a tube of fleece and furry material, which makes it so easy to slide onto the candy cane wreath form. If you can’t find a tube scarf like this, a regular fleece scarf will work to glue on, too. You can also check the sock aisle for fuzzy white socks (or even red and white striped socks!) or the cleaning aisle for a fuzzy white mop pad. You could alternatively wrap the wreath form in burlap, ribbon, deco mesh or fabric to create the white candy cane base.
Step-by-Step Candy Cane Wreath Instructions
Step 1: Prepare the Scarf
Start by cutting the scarf where the seams meet, along the short side, to create one long tube with one open end and one finished end.

This will create an opening that allows you to slide the candy cane wreath form inside.

Step 2: Cover the Wreath Form
Place the candy cane wreath form inside the scarf, pulling it all the way through so that the end of the wreath form (where the curved section ends) has the finished seam on it.

Step 3: Secure the Fabric
Pull the excess fabric to the backside of the wreath form and hot glue it so that the front side is flush against the wreath form.

You can trim the excess material if you’d like, but I prefer to fold it over and hot glue it. This prevents the faux fur from shedding.
Step 4: Attach the Elf
Hot glue the elf to the candy cane wreath form. Begin by gluing the hands together and then attach the feet to the wreath form. You can add a small dab of glue to the head to ensure it stays looking forward.

Step 5: Create a Bow
Making a simple burlap bow is easy! Cut 3 pieces of burlap ribbon: 1 long, 1 slightly shorter, and 1 short piece.

Fold the longest ribbon into thirds and pinch the center section. Fold the other long ribbon and repeat the process.

To cover the fold, cut a small piece of ribbon, fold it width-wise into thirds, and glue it over the middle of the bow.

Attach a piece of ribbon to the backside to make the tails of the bow and cut them into dovetail shapes.

Step 6: Attach the Bow
Hot glue the bow to the wreath, positioning it almost at the top of the curved section.

Step 7: Add Red Ribbon Stripes
To make it look more like a candy cane, start by adding hot glue to the backside of the wreath and attach the red ribbon on top.
Then, wrap the ribbon around the wreath form, adding dabs of glue as you go.

Step 8: Make the Hanger Loop
Create a small loop in the back with a piece of ribbon to hang the wreath properly.

Variations for Your Candy Cane Wreath
While the tutorial above outlines the basic steps to create a delightful Dollar Tree Elf Candy Cane Wreath, there are countless ways to add your unique flair to this craft. Here are some creative variations you can explore to make an adorable candy cane wreath:
- Color Choices: You can choose different scarf colors, ribbon shades, and elf designs to match your preferred Christmas color scheme. Experiment with traditional red and green or try a unique combination to match your decor or your favorite candy cane flavor!
- Additional Decorations: To make your wreath even more festive, consider adding ornaments, bells, or miniature presents. These embellishments can be hot glued to the wreath form or hung from the ribbon.
- Faux Snow: Dusting your wreath with faux snow or glitter adds a touch of winter magic. Simply spray adhesive and sprinkle the snow or glitter on the wreath before it dries, or use a can of spray flocking.
- Personalization: Add a custom message or your family’s name to the wreath using letter stickers, stencils, or paint. Learn to make your own personalized wood sign here.
- Wreath Shape: While the candy cane shape is iconic, you can experiment with other wreath forms, such as a traditional circle or a heart shape. The white background with red stripes is immediately known as a Christmas candy cane!
Common Questions about Candy Cane Wreaths
Here are some common questions people often have when making candy cane wreaths:
Where can I find the materials for this craft?
Most of the materials can be found at Dollar Tree or other similar discount stores. You can also purchase some of these items online if you prefer.
You can also sub materials to use what you have on hand! Wrap the wreath form with ribbon or yarn or fabric strips instead of the scarf and ribbon.
Can I use a different type of wreath form?
Absolutely! While we used a candy cane form for this tutorial, you can use a circular or heart-shaped form if that’s what you have on hand.
You can also make your own wreath form from cardboard or from a pool noodle (or from this hardware store find if pool noodles are out of season).
How long does it take to make this wreath?
The time required depends on your crafting experience, but it generally takes around 30 minutes to complete.
Can I wash the wreath if it gets dirty?
It’s best to spot clean the wreath if it gets dirty. Using water and mild soap can help remove any stains without damaging the materials.
Is this a kid-friendly craft?
Yes, children can participate in making this wreath with adult supervision. However, hot glue guns should be handled by adults due to the risk of burns.
How to Make a Dollar Tree Elf Candy Cane Wreath – Step by Step Tutorial

Ingredients
- Large Candy Cane Wreath Form Dollar Tree
- White Faux Fur Scarf ours is called a muffler, from Dollar Tree*
- Elf Stuffed Animal or Plushie Dollar Tree
- Hot Glue Gun and Hot Glue Sticks
- Green Burlap Ribbon
- Red Satin Ribbon
- Scissors
- Optional: Berries and Greenery Picks if desired for additional decoration
Instructions
- Instructions:
- Prepare the Scarf: Start by cutting the scarf where the seams meet, along the short side, to create one long tube with one open end and one finished end. This will create an opening that allows you to slide the candy cane wreath form inside.
- Wrap the Scarf: Place the candy cane wreath form inside the scarf, pulling it all the way through so that the end of the wreath form (where the curved section ends) has the finished seam on it.
- Secure the Fabric: Pull the excess fabric to the backside of the wreath form and hot glue it so that the front side is flush against the wreath form. You can trim the excess material if you'd like, but I prefer to fold it over and hot glue it. This prevents the faux fur from shedding.
- Attach the Elf: Hot glue the elf to the candy cane wreath form. Begin by gluing the hands together and then attach the feet to the wreath form. You can add a small dab of glue to the head to ensure it stays looking forward.
- Create a Bow: Make a simple bow with the green burlap ribbon by folding the ribbon into thirds and pinching the center section. Cut a longer piece of ribbon and repeat the same process. To cover the fold, cut a small piece of ribbon, fold it width-wise into thirds, and glue it over the middle of the bow. Attach a piece of ribbon to the backside to make the tails of the bow and cut them into dovetail shapes.
- Attach the Bow: Hot glue the bow to the wreath, positioning it almost at the top of the curved section.
- Add Red Ribbon Stripes: To make it look more like a candy cane, start by adding hot glue to the backside of the wreath and attach the red ribbon on top. Then, wrap the ribbon around the wreath form, adding dabs of glue as you go.
- Make the Hanger Loop: Create a small loop in the back with a piece of ribbon to hang the wreath properly.
Notes
Pin this to share and save for later!

Cassity Kmetzsch started Remodelaholic after graduating from Utah State University with a degree in Interior Design. Remodelaholic is the place to share her love for knocking out walls, and building everything back up again to not only add function but beauty to her home. Together with her husband Justin, they have remodeled 6 homes and are working on a seventh. She is a mother of four amazing girls. Making a house a home is her favorite hobby.


